
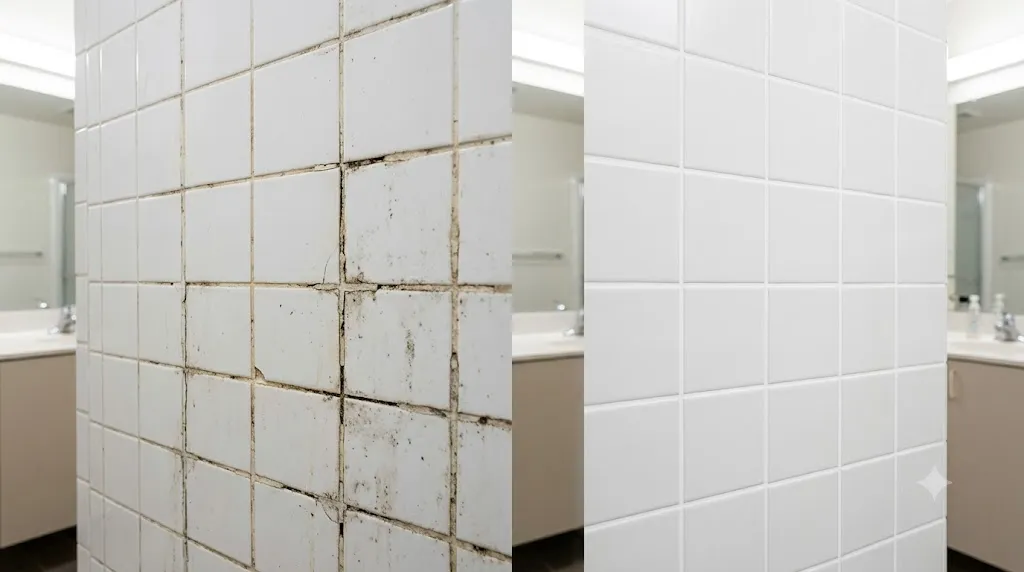
If your bathroom tiles look tired, learning how to regrout bathroom tiles is the smartest way to refresh your space. You don’t need a costly renovation; mastering how to regrout bathroom tiles allows you to fix discoloured or cracked grout over a single weekend. Follow these expert tips on how to regrout bathroom tiles to get a brand-new look for less.
Here’s the good news: you don’t need to retile. Learning how to regrout bathroom tiles is one of the most cost-effective ways to breathe new life into your bathroom without the expense of a full renovation. It’s a weekend project that can make your old bathroom look brand new.
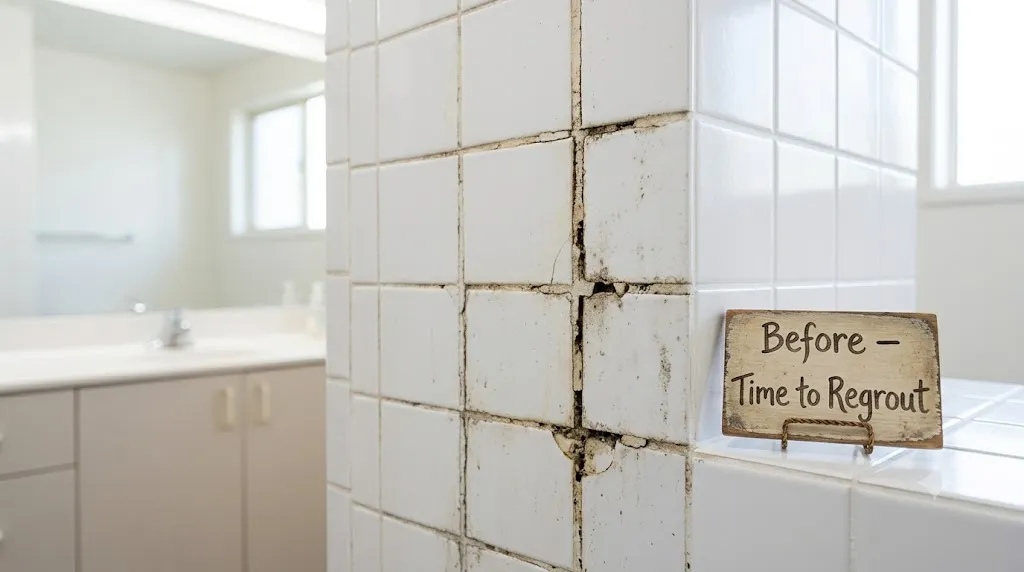
Whether your grout is mouldy, cracked, or simply discoloured, this guide will walk you through everything you need to know to get the job done right-including when to call a professional.
Why Learning How to Regrout Bathroom Tiles is Worth It
Understanding how to regrout bathroom tiles is a high-impact, low-cost project. It prevents structural moisture damage while immediately improving your bathroom’s hygiene and aesthetics.
Regrouting is a high-impact, low-cost way to refresh your tile surfaces and increase your home’s value. It addresses the root cause of many bathroom problems:
- Prevents moisture damage: Grout is the primary waterproof barrier. When it fails, moisture seeps behind tiles, leading to wood rot and expensive structural damage.
- Improves hygiene: Porous grout traps debris and mould. Regrouting removes these hazards and provides a clean, easy-to-maintain surface.
- Maintains tile stability: Grout keeps tiles from shifting or grinding against each other.
- Saves money: A full retile costs thousands; regrouting costs a fraction of that.
When to reconsider: If your grout is cracked or falling out, it may indicate improper tile installation or substrate issues. In this case, call a professional for a full assessment. Also, if your tiles are very closely spaced (gaps smaller than 3/16 inch), the work may be too difficult for a novice—you risk damaging your tiles.
Pin-worthy tip: “Tile outlasts grout. You don’t need to retile—just regrout and refresh.”
Tools You Need for How to Regrout Bathroom Tiles
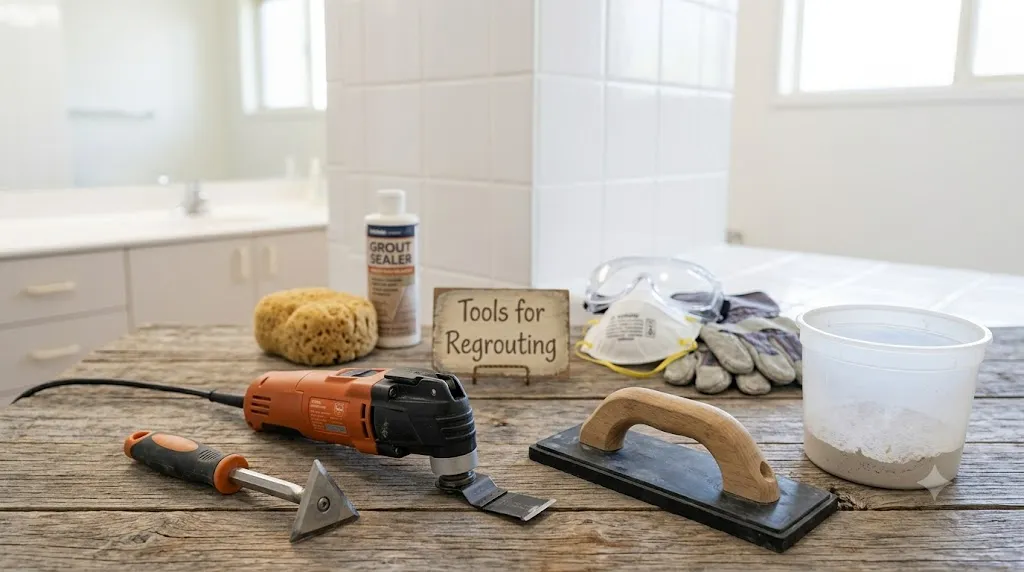
To successfully learn how to regrout bathroom tiles, gather a grout saw or multi-tool, a rubber float, a sponge, and high-quality grout. s:
| Category | Items |
|---|---|
| Grout Removal | Grout rake or grout saw, oscillating multi-tool with grout removal blade (recommended), carbide-tipped grout removal tool |
| Cleaning | Shop vacuum, stiff brush, grout sponge, buckets, clean water |
| Application | Rubber grout float, mixing bucket, stirrer |
| Grout | Sanded grout (for joints >1/8 inch), unsanded grout (for joints <1/8 inch), or ready-mixed grout |
| Safety | Safety goggles, dust mask, heavy-duty gloves, ear protection (for power tools) |
| Protection | Drop cloths or plastic sheeting, painter’s tape, grout sealer |
| Finishing | Grout finisher, microfibre cloth, grout haze remover (optional) |
Pro tip: Use stainless steel fixings if you have wood behind the tiles. In wet areas like showers, consider grout with polymer additives or a high-performance brand like Mapei or BAL for better mould and mildew resistance.
How to Regrout Bathroom Tiles
Step 1: Prepare the Work Area
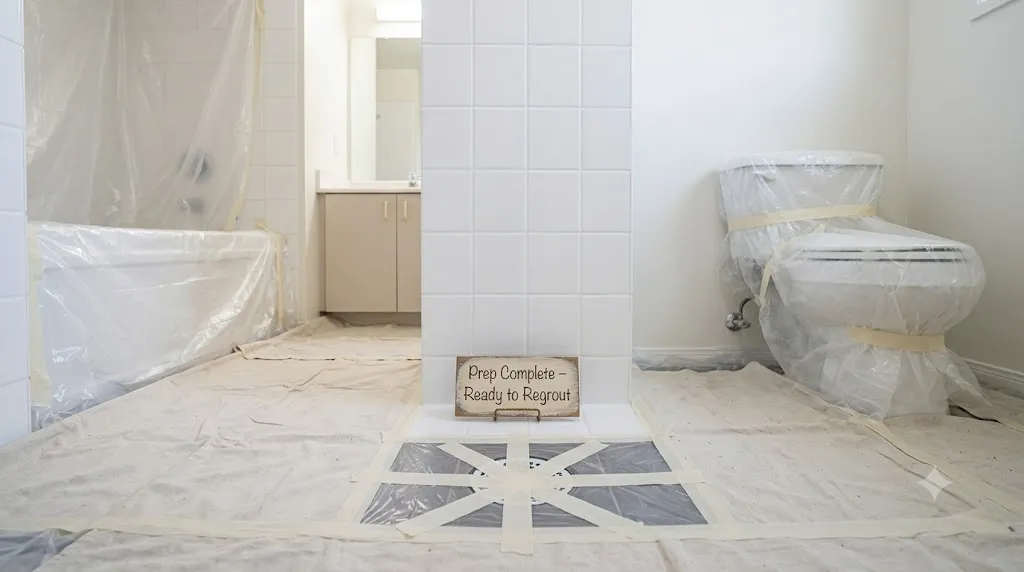
Before you start, protect your bathroom from the mess:
- Cover fixtures, countertops, and the tub with drop cloths or plastic sheeting.
- Cover the drain with masking tape to prevent debris from clogging the plumbing.
- Remove any fixtures you can (handles, faucet, and spout) for easier access.
- Open a window for ventilation and wear your safety gear—this is a dusty job.
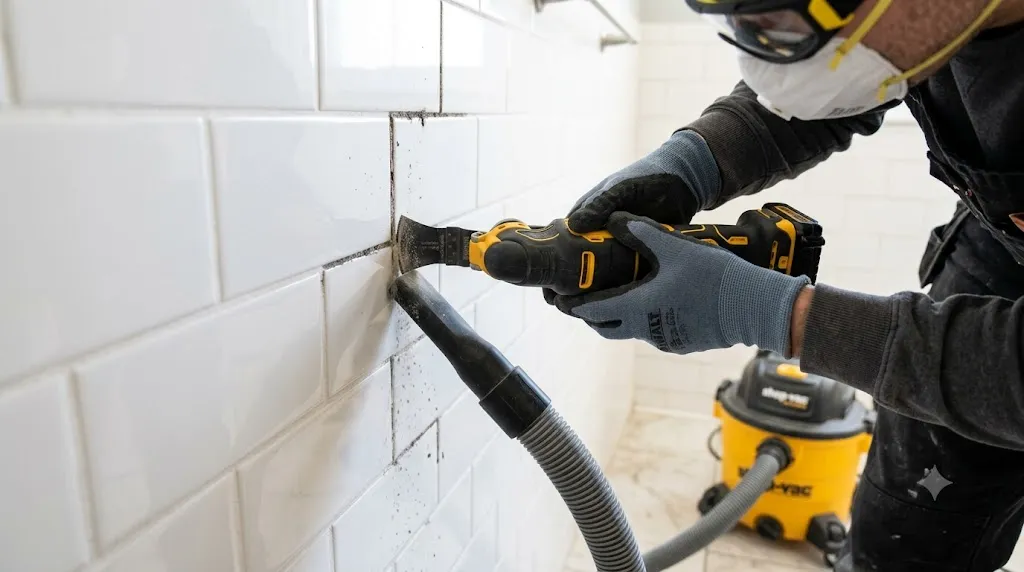
Step 2: Remove the Old Grout
This is the most labour-intensive step. You must remove enough old grout to create space for the new grout to bond properly. Experts recommend removing grout to a depth of at least 2-3mm (roughly half the depth of the tile).
Using a power tool (recommended for large areas):
- Equip an oscillating multi-tool with a grout-removal blade.
- Hold the tool at a 90-degree angle to the tile and move it along the grout lines.
- Let the tool do the work—don’t push too hard, or you risk chipping the tiles.
Using a manual tool (for small areas or cost-saving):
- Use a grout rake or carbide-tipped grout removal tool.
- Apply steady pressure and work in one direction (not back and forth).
- Be careful not to slip and scratch the tiles.
- Learn more about grout types at The Spruce
Safety note: Always wear protective goggles, a dust mask, and gloves. This step creates significant dust.
Step 3: Clean the Joints Thoroughly
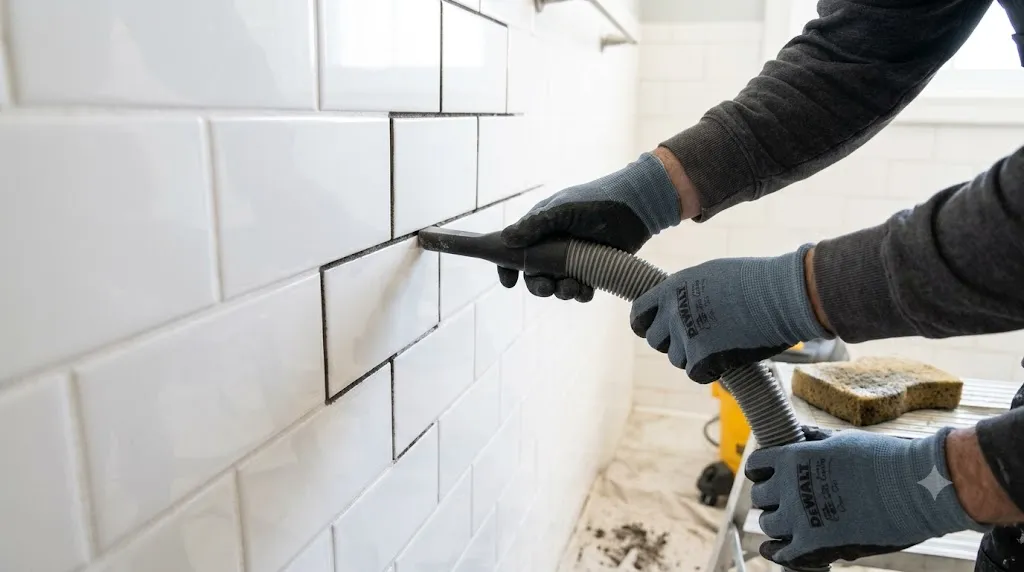
Once the old grout is removed, the joints must be completely clean and dry:
- Vacuum every grout line using a shop vacuum to remove all dust and debris.
- Wipe the joints with a damp sponge to remove any lingering residue.
- Let the area dry completely before applying new grout.
Why this matters: Any dust or debris left in the joints will prevent the new grout from adhering properly, leading to premature failure.
Step 4: Mix the New Grout
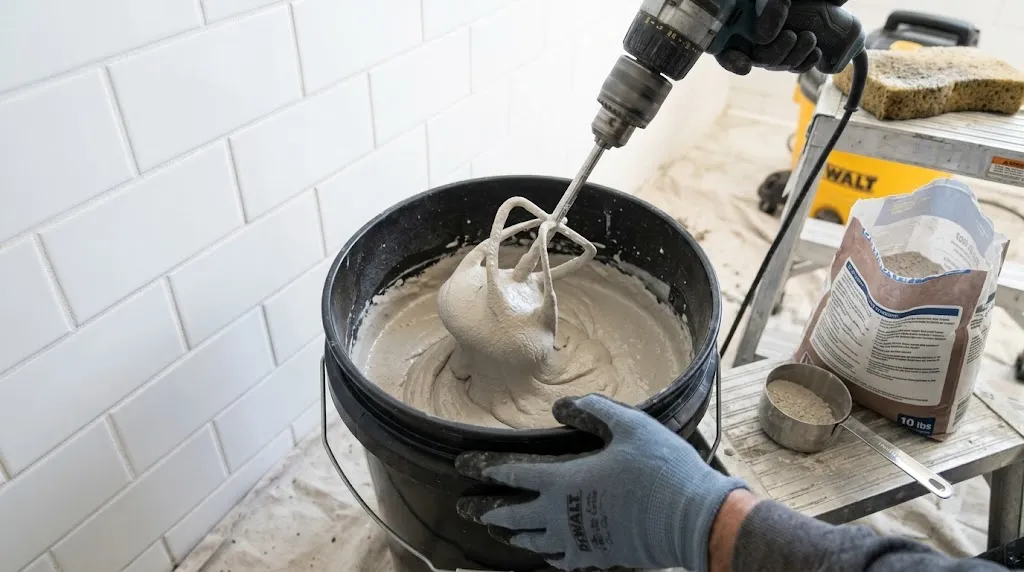
Follow the manufacturer’s instructions for mixing your chosen grout:
- Combine the grout powder and water in a bucket according to the recommended ratio.
- Mix until you achieve a smooth, spreadable consistency—like thick peanut butter.
- Let the mixture slake (rest) for about 10 minutes before applying, if required by the manufacturer.
- Only mix as much as you can use within about 30 minutes to prevent it from drying out.
Pro tip: If you’re new to this, mix in small batches. Ready-mixed grout is also available and eliminates the mixing step.
Step 5: Apply the New Grout
Now it’s time to fill those joints:
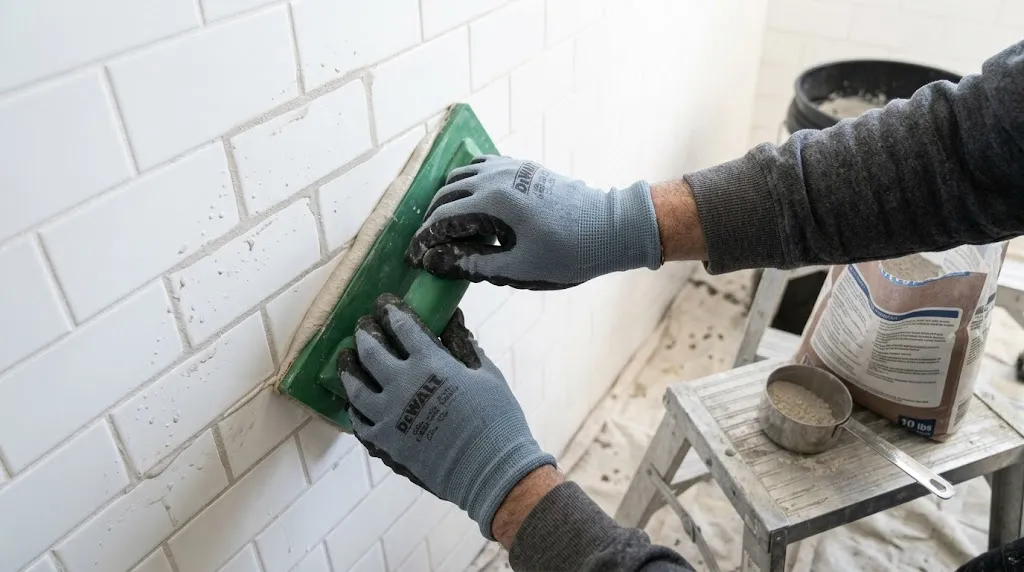
- Load your rubber grout float with a scoop of grout.
- Hold the float at a 45-degree angle to the tile and apply the grout using diagonal strokes.
- Press firmly to ensure the joints are fully packed—no air pockets.
- Work in small sections (about 1 square metre) to prevent the grout from drying before you can clean it.
- Go over the area multiple times in different directions to ensure complete fill.
- Use the edge of the float diagonally across the surface to remove excess grout.
For corners and edges: Use caulk rather than grout where tile meets another surface (like where tile meets the tub). Caulk is flexible and prevents cracking due to expansion and contraction in humid bathrooms.
Step 6: Wipe and Smooth the Joints
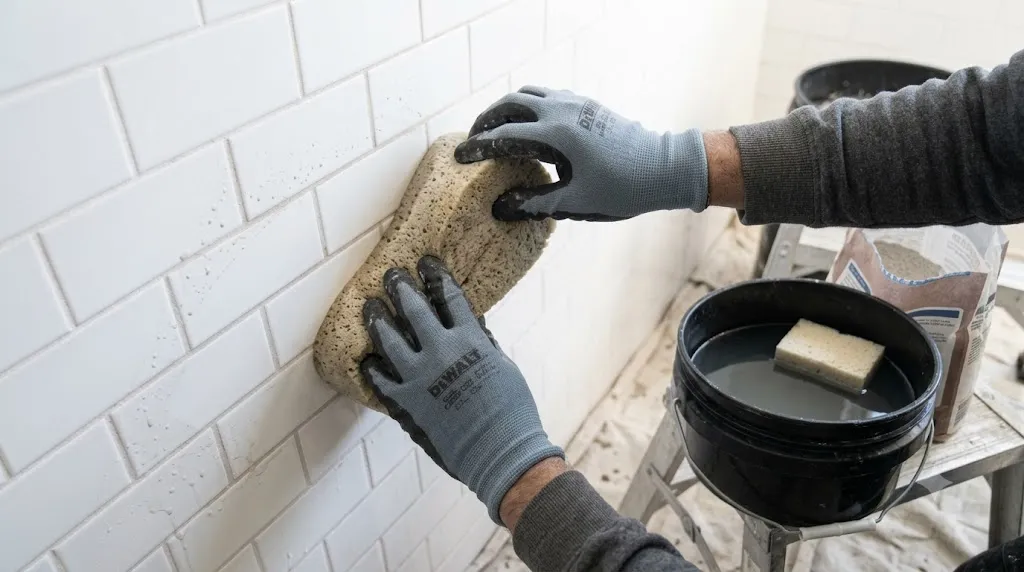
After applying the grout, wait about 10-20 minutes for it to set slightly (check your packaging for exact timing).
- Use a damp grout sponge (not wet—wring it out well).
- Wipe the tiles in a diagonal motion to avoid pulling grout out of the joints.
- Rinse and wring out the sponge frequently—change the water as it becomes cloudy.
- After the initial cleaning, use a grout finisher to smooth the joints for a professional finish.
Step 7: Remove Grout Haze and Finish
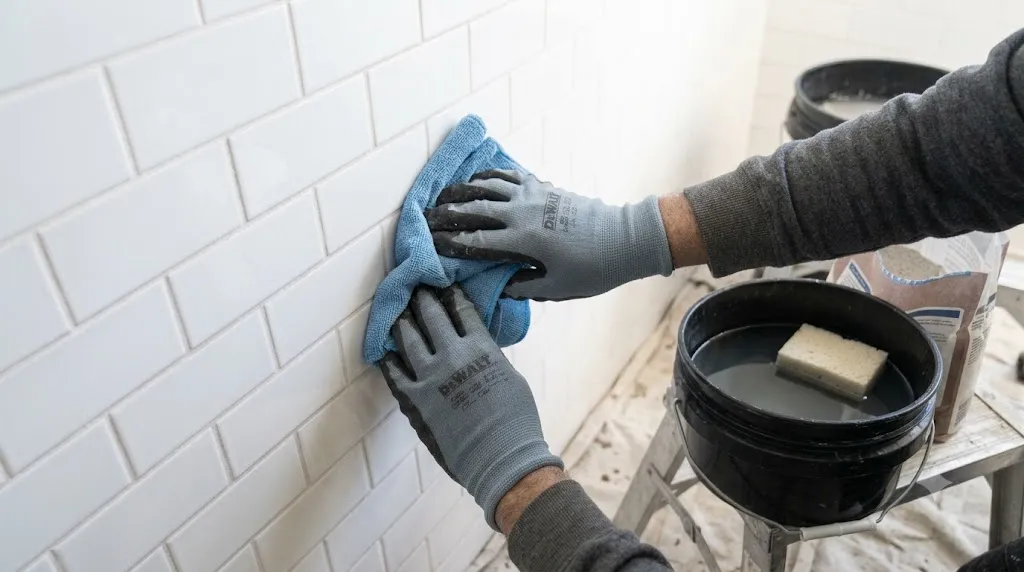
Once the grout has dried and the haze forms:
- Use a dry microfibre cloth to buff away the powdery haze.
- For stubborn haze, use a grout haze remover following the manufacturer’s instructions.
- Polish the tiles until they shine.
Important: Do not use harsh cleaning products or bleach during the initial curing period—they can affect the grout pigment and strength.
Step 8: Cure and Seal
The final step is essential for long-lasting results:
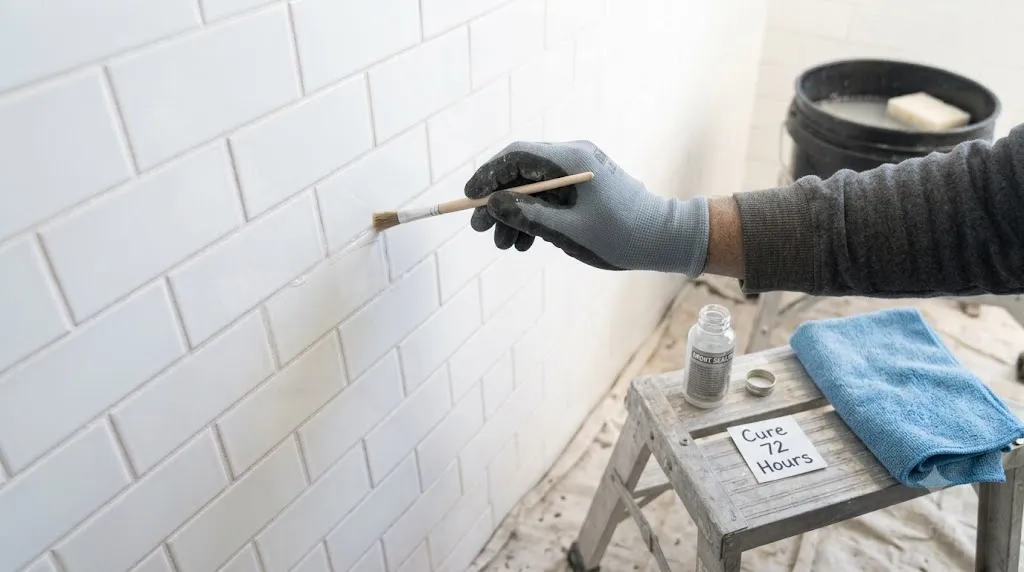
- Let the grout cure for 24-72 hours (check manufacturer’s instructions).
- Do not use the shower or expose the grout to water during this time.
- Once fully cured, apply a grout sealer to protect against future stains and moisture.
- Test the sealant by dropping water on the grout—if it beads, it’s sealed.
Common Mistakes to Avoid
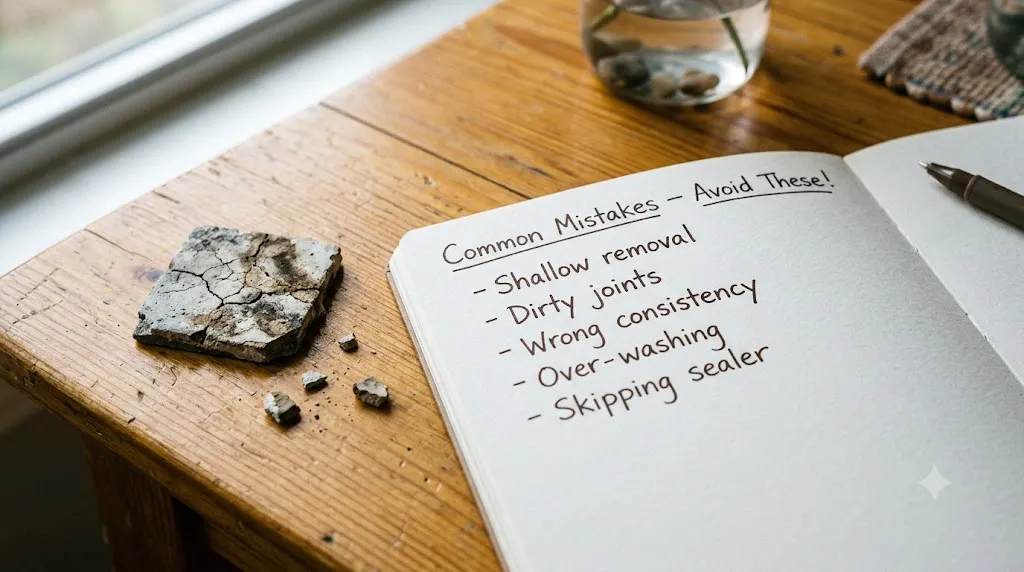
| Mistake | Why It Happens | How to Avoid It |
|---|---|---|
| Shallow removal | Not removing enough old grout | Remove at least 2-3mm or half the depth for proper adhesion |
| Dirty joints | Leaving dust in grout lines | Vacuum thoroughly and wipe with a damp sponge before applying |
| Wrong consistency | Too much water (cracks) or too little (brittle) | Follow manufacturer’s instructions exactly |
| Overwashing | Using a dripping sponge | Wring out the sponge well; it should be damp, not wet |
| Skipping the slack | Not letting mix rest | Let it sit for 10 minutes to activate the chemicals |
| No sealer | Leaving joints unsealed | Always seal after curing—especially in showers to prevent mould |
How Long Does It Take?
For a standard bathroom floor (about 40 square feet), expect to spend:
- 4-6 hours removing old grout
- 2-3 hours applying new grout
- 24-72 hours’ curing time
Larger areas will take longer, so plan accordingly.
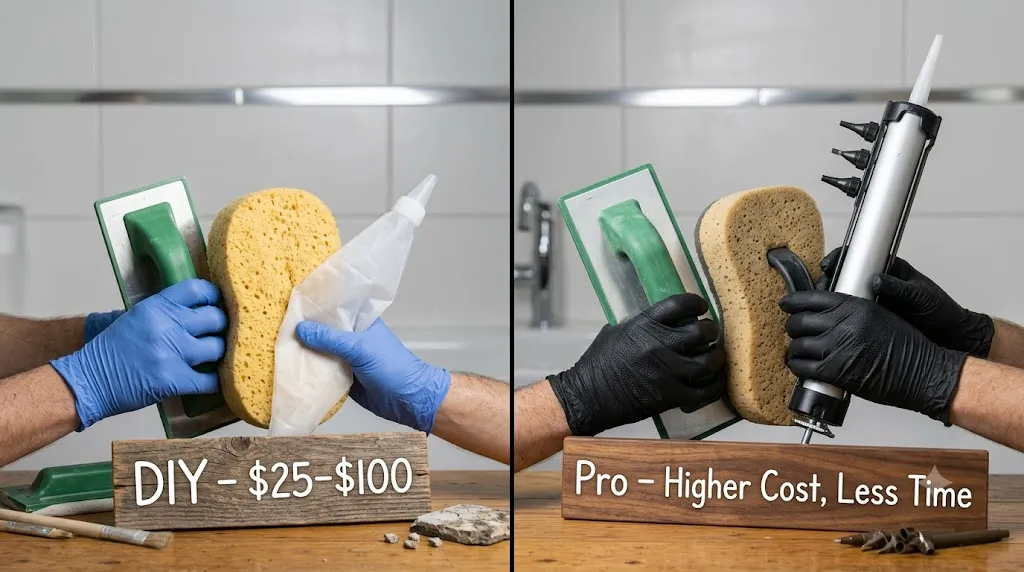
DIY vs. Hiring a Professional
| Aspect | DIY Regrouting | Professional Regrouting |
|---|---|---|
| Cost | Lower (materials only: $25-$100) | Higher (labor + materials) |
| Time | 1-2 days for average bathroom | 3-6 hours for average bathroom |
| Tool Investment | Need to purchase specialised tools | No tool investment needed |
| Risk of Tile Damage | Higher risk for beginners | Minimal risk |
| Finish Quality | Varies with skill level | Consistently high quality |
Consider hiring a pro if: Your grout lines are very narrow, the area is large, you’ve never done this before, or you notice signs of improper installation (cracked or falling grout throughout).
You Might Like How to Renovate a Bathroom on a Budget
Let’s Talk About Your Bathroom
Now I want to hear from you.
Are you planning to regrout your bathroom? What’s the biggest challenge you’re facing—removing the old grout or getting the new grout consistent? Drop a comment below or tag @ouladeco on Pinterest with a before photo of your bathroom.
And if this guide helped you, save it, share it with a friend, and come back to Oula Deco for more home renovation inspiration. Your bathroom’s fresh new look is just a weekend away—without the full renovation.

