
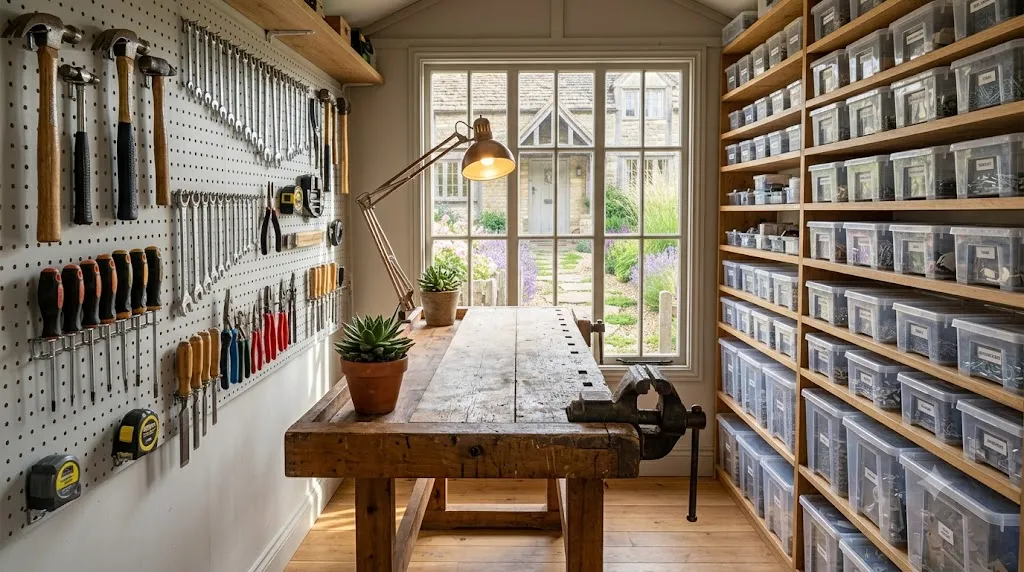
If you are looking for the best workshop shed design tips, you have come to the right place. A well-planned workshop shed design can transform a simple backyard structure into a highly functional workspace for your hobbies or DIY projects. By following these 7 expert strategies, you can optimise your workshop shed design to boost your productivity.
Here’s a comprehensive guide to designing and laying out your dream workshop shed.
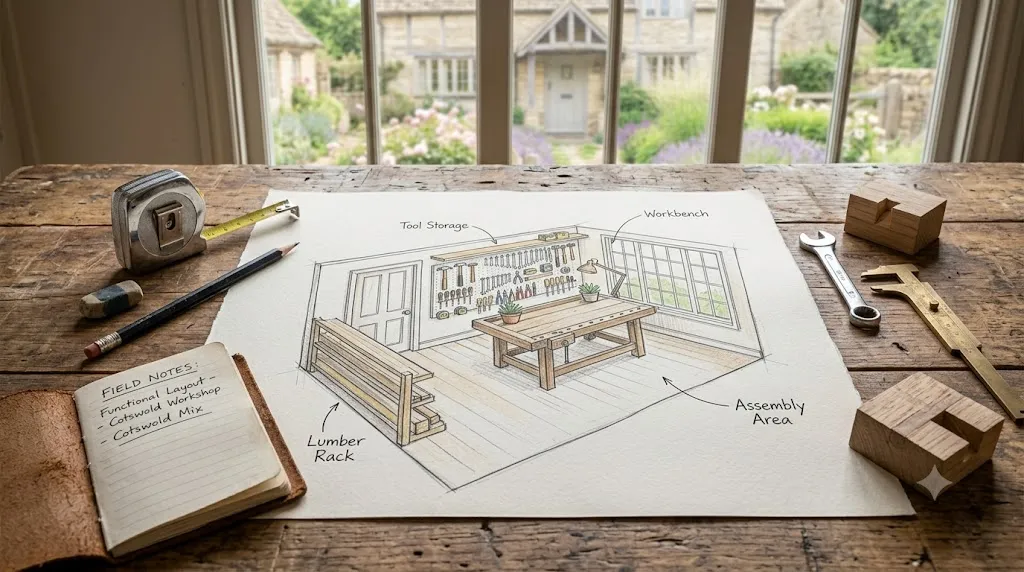
1. Start With a Clear Workshop Shed Design Plan
The most important part of workshop shed design is the vision. Before buying materials, sketch a floor plan that identifies areas for storage and workstations to create a practical, tidy setup
Ask yourself:
- What kind of projects will I be working on? Woodworking, electronics, gardening, or crafts?
- What tools and equipment do I need?
- How much workspace do I want?
Answering these questions will help you figure out the size and layout of your shed. A woodworking workshop needs a sturdy bench and space for lumber storage, while a craft or hobby setup might prioritise natural light and shelving for supplies.
Get more planning tips at Family Handyman
Get inspired: A clear floor plan helps you select the best layout. Measure your shed and think about how you will use the space. Identify areas for storage, workspaces and tools to create a practical and tidy setup.
Pin-worthy tip: “A good design respects your space and enhances what’s already there. You don’t need to reinvent the wheel; just give it better rims.”
2. Choosing the Right Structure for Your Workshop Shed Design
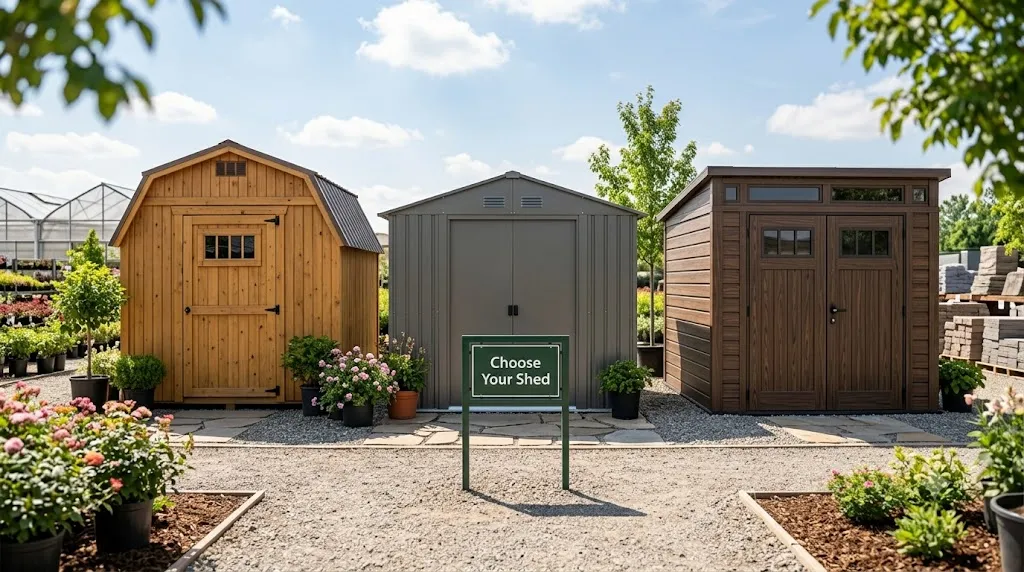
Selecting the right shed is vital for effective workshop shed design. Whether you choose wood, metal, or resin, ensure the size allows for both your equipment and comfortable movement.
Materials
- Wood: Beautiful but requires maintenance like painting and treating to prevent rot.
- Metal: Durable but can rust and get hot in direct sun.
- Resin/Plastic: Low-maintenance, weather-resistant, and often come in wood-like finishes.
Size Matters
The minimum recommended size for a functional workshop shed is generally 10′ x 8′ (3 m x 2.4 m). This gives you room for basic tools, storage, and a small workspace. For larger equipment or more comfortable movement, a 12′ x 10′ is recommended.
Recommended workshop shed sizes:
| Workshop Type | Typical Size |
|---|---|
| Small DIY/Hobby Workshop | 6m × 6m |
| Home Garage Workshop | 6m × 9m |
| Large Woodworking/Farm Workshop | 12m × 18m |
| Mechanic Workshop | 12m × 24m |
| Industrial Workshop | 24m × 60m |
Key Features to Look For
- Lofted barns: Great for vertical storage of lumber or ladders, keeping floor space open for projects.
- Studio sheds: Provide open space and natural light, ideal for crafts or finishing work.
- Double doors: Make it easier to move tools or larger items in and out.
3. Workbench Essentials for Workshop Shed Design
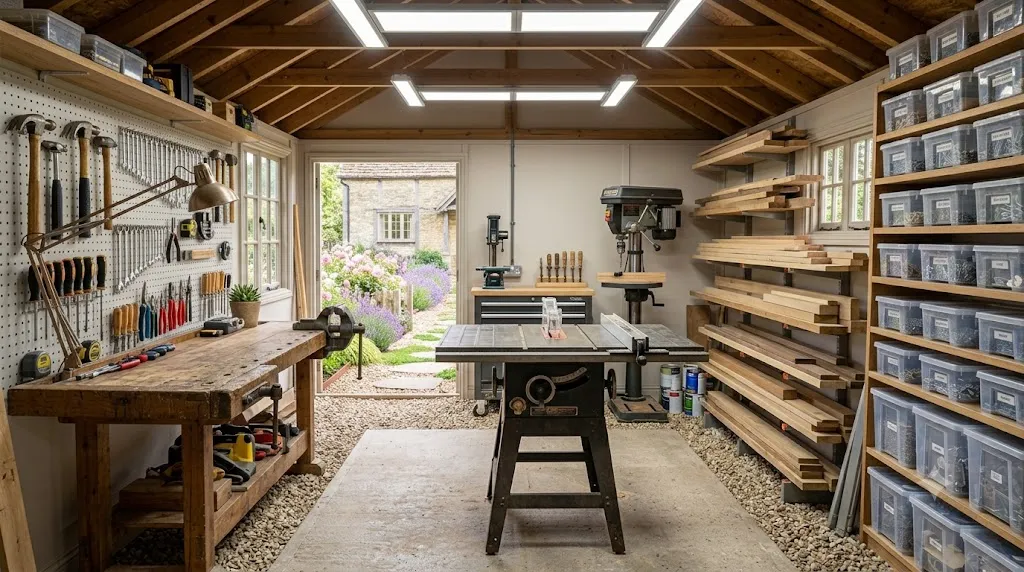
An efficient workshop shed design improves safety and output. Divide your space into zones, such as a workbench area, a machinery area, and a dedicated storage zone to keep your workflow smooth.
Zoning Your Workshop
A well-designed workshop divides the space into zones. Typical zones include the following:
- Workbench area: Used for small repairs, cutting, and assembly.
- Machinery area: Reserved for large equipment and heavy tools.
- Storage zone: Includes shelves, cabinets, and racks.
- Vehicle or equipment bay: Used for large machines or vehicles (if applicable).
Three Starter Layouts
1. Woodworking Setup: If woodworking is your main focus, aim for a 24–30 inch deep workbench with plenty of surface area. Add a clamp rack and a pegboard wall for hand tools.
2. Repair & Maintenance Setup: For general repairs, a freestanding bench against the back wall keeps things simple. Add a wall rail system for ladders and bulky tools, plus clearly labelled bins for plumbing, electrical, or painting supplies.
3. Craft & Hobby Setup: If your projects lean more toward crafts, sewing, or finishing work, natural light is your best friend. A studio shed with a bench under a window provides the brightness you need.
Space-Saving Genius: The Tiny Workshop
The 2025 Cuprinol Shed of the Year winner proves that brilliant design can triumph over grand scale. Built by engineer Mike Robinson, “The Tiny Workshop” transformed a mere 3m x 1m x 2.4m footprint into a multifunctional haven.
Key innovations:
- Multifunctional design: Two ingenious flaps transform the unit’s usability—one drops down to create a work floor, while another flips up to provide weather protection.
- Maximum storage: Inside, Robinson has maximised every inch with carefully planned drawers, shelves, and hooks. Even the brackets holding old spanner handles were custom-designed using a 3D printer.
- Green roof: The structure features a living green roof that stores garden tools while creating habitat for wildlife.
This design demonstrates that even the smallest shed can house big ideas.
4. Lighting and Power in Workshop Shed Design
The workbench is the heart of your workshop shed design. To ensure a perfect workshop shed design, place your bench at an ergonomic height and integrate drawers underneath for extra storage.
The Workbench
The workbench is the heart of your workshop, so it pays to plan carefully. It provides a stable and durable surface for a wide range of tasks from crafting to DIY projects.
Tips for the perfect bench:
- Set your workbench height between 34 and 38 inches for comfort.
- Ensure it’s at a comfortable working height and has plenty of space for laying out materials.
- Add drawers or built-in shelves underneath for extra storage.
Lighting
Good lighting and power access can make or break your workspace. A workshop isn’t complete without reliable power and good lighting.
- Natural light: Install windows or a skylight to flood the space with sunlight.
- Task lighting: Overhead shop lights paired with a task light above the workbench give you even coverage.
- Electricity: Plan for outlets every six to eight feet along the walls, with at least two positioned near your main bench.
If running power isn’t an option, battery-operated or solar-powered lights are a great alternative.
Storage Solutions
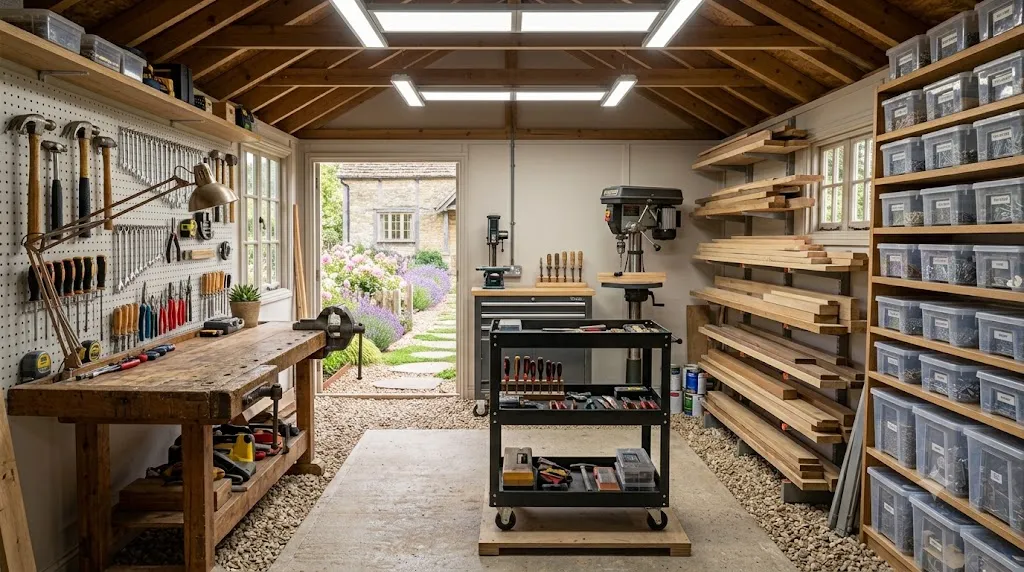
Clutter is the fastest way to lose momentum. A simple system works best: sort your gear by task, give each category its own labelled bin or shelf, and use a rolling cart for the tools you need today.
Popular storage options:
- Pegboards: Great for hanging frequently used tools.
- Shelving: Use the full height of your workshop walls to store vertically.
- Magnetic strips: Hold metal tools like wrenches and screwdrivers.
- Clear, labelled bins: Make it easy to see supplies.
Comfort and Climate Control
If you want to use your shed year-round, think about insulation and ventilation.
- Insulation: Proper insulation keeps your workspace comfortable in hot summers and chilly winters.
- Ventilation: Adequate airflow is a must for a healthy environment, especially if you’re working with dust or fumes.
- Heating/Cooling: A portable fan, small heater, or compact AC unit makes it easier to keep working in extreme weather.
Security
Never overlook security. You will need a strong padlock and opaque windows to protect your valuable materials and equipment from prying eyes. A heavy-duty, anti-pick, anti-crop lock should be at the top of your list. Motion sensor lights and an alarm system are also effective deterrents.
5. Storage Solutions for an Efficient Workshop Shed Design
Reliable power and light are non-negotiable for a professional workshop shed design. Use a mix of overhead shop lights and task lighting to keep your space bright and safe.
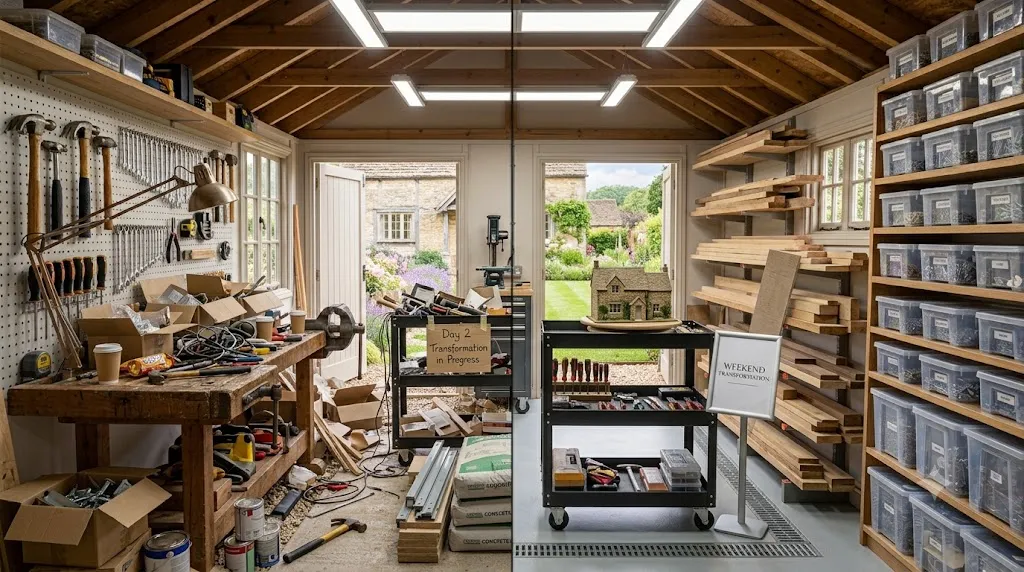
- Friday evening: Clear the space and sketch your layout.
- Saturday morning: Install the bench, pegboard, and shelves.
- Saturday afternoon: Focus on labelling bins, routing cords, and mounting task lighting.
- Sunday: Add finishing touches like weatherstripping the door, hanging wall rails, and setting up your rolling cart.
By Sunday evening, you’ll have a clean, organised, and functional shop ready for your next project.
6. Personalize Your Workshop Shed Design
Clutter kills momentum. To optimise your workshop shed design, use pegboards for tools and vertical shelving to make the most of your wall space.
Simple ideas:
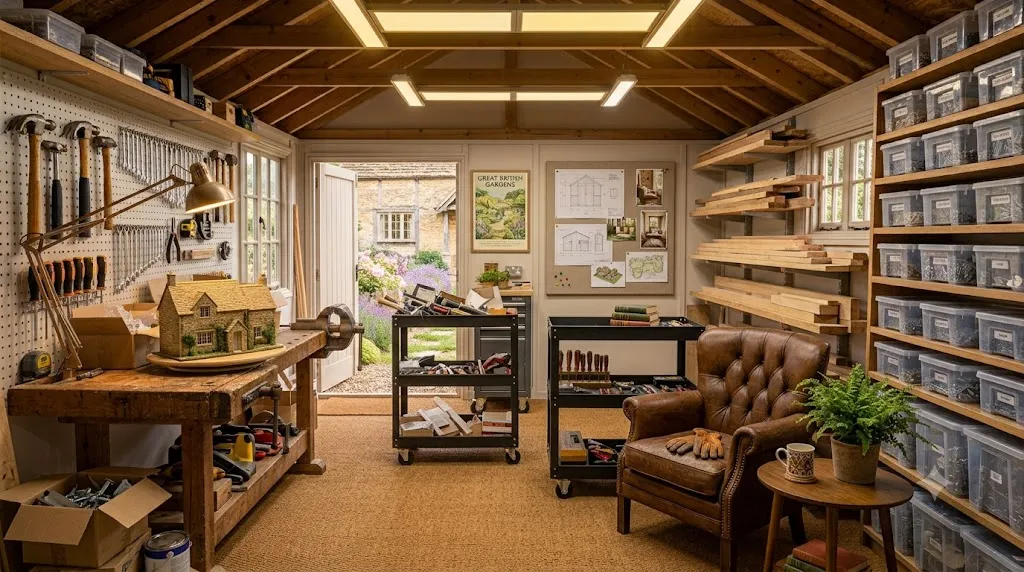
- Installing signage or wall displays related to your hobby.
- Displaying completed projects or tools you’re proud of.
- Using noticeboards or poster boards for plans and inspiration.
- Choosing comfortable seating for breaks or planning.
You Might Like Stunning Garage Door Styles That Transform Your Home’s Facade
Let’s Talk About Your Workshop Shed
Now I want to hear from you.
Are you planning a workshop shed? What’s the biggest challenge you’re facing – choosing the right size, deciding on a layout, or figuring out storage? Drop a comment below or tag @ouladeco on Pinterest with a photo of your shed or workshop space.
And if this guide helped you, save it, share it with a friend who’s dreaming of a DIY space, and come back to Oula Deco for more home and garden inspiration. Your ultimate workshop shed is closer than you think – one smart layout choice at a time.
Workshop shed design and layout ideas – choose the right shed, zone your space, add essential features, and personalise. Save this complete guide! 🛠️🔨 #WorkshopShed #DIYSpace #OulaDeco

