
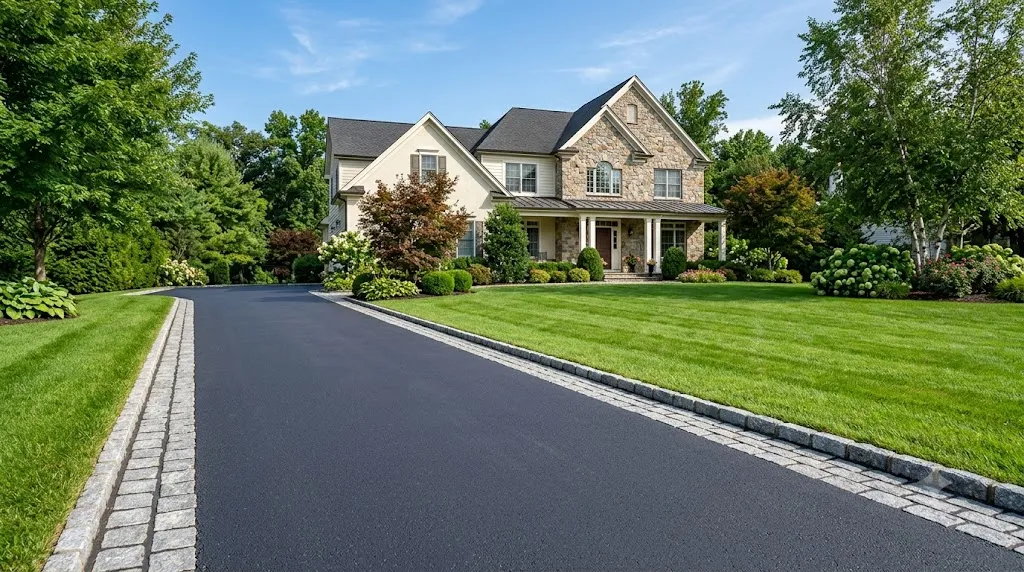
A well-defined driveway edging project does more than just guide your car—it frames your home’s exterior, boosts curb appeal, and prevents weeds from creeping in. A crisp, clean boundary created by proper driveway edging is one of the most impactful upgrades you can make. Whether you are a DIY enthusiast or hiring a pro, mastering driveway edging techniques will give your property that professional, polished look.
Why Driveway Edging Matters for Your Home
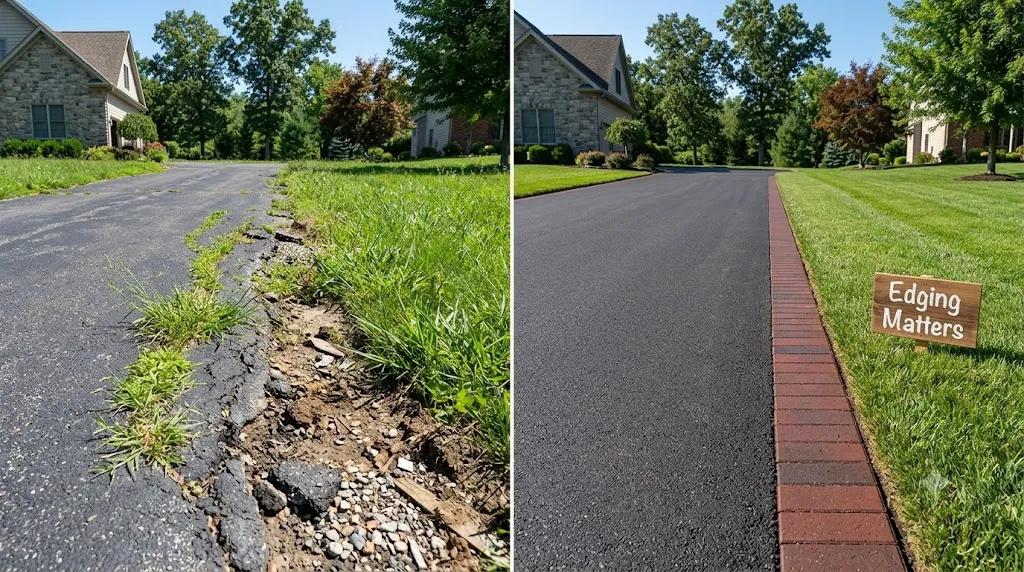
Edging isn’t just about aesthetics—it’s about protecting your investment. A driveway without proper edging is vulnerable to the following:
- Soil erosion and grass encroachment: Without a barrier, the lawn can gradually spread onto the driveway, while soil can wash away.
- Material displacement: Gravel and mulch can scatter, creating a messy appearance and a safety hazard.
- Edge damage: The asphalt or concrete at the edges can crack, crumble, or wear down over time.
Learn more about curb appeal at HGTV
Adding a border creates a neat, structured look that frames your home beautifully. The right edging also makes lawn maintenance easier, allowing for quick trimming with less risk of damaging the driveway surface.
Choosing the Right Materials for Driveway Edging
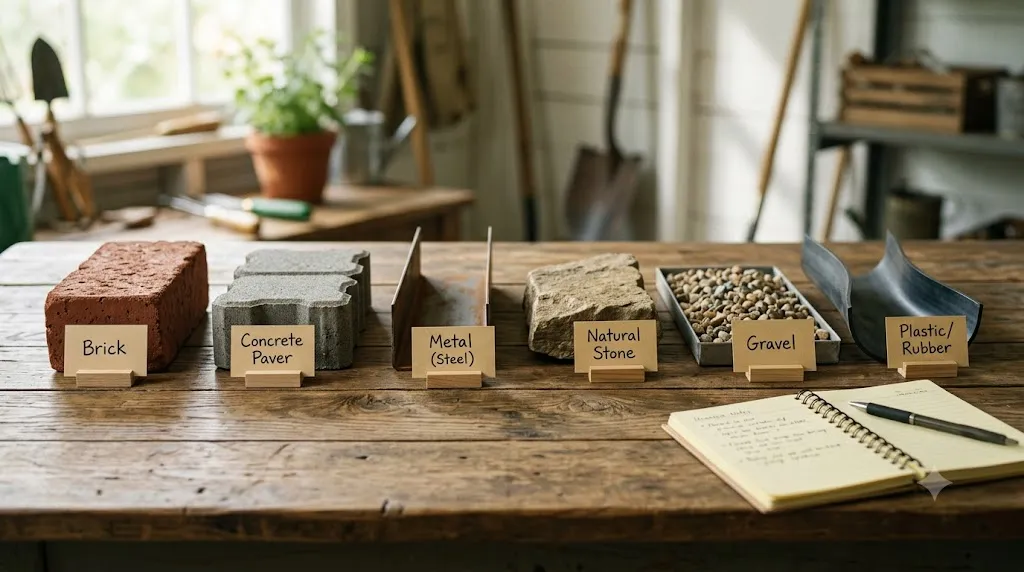
The best material depends on your budget, the style of your home, and the type of driveway you have. Here are the top options:
| Material | Best For | Pros | Cons | Cost per Linear Foot* |
|---|---|---|---|---|
| Brick | Traditional homes, classic charm | Timeless look, colorful, blends with landscaping | Labor-intensive installation | $12–$25 |
| Concrete Pavers | Versatile, modern or geometric designs | Durable, easy-to-install, customizable shapes | Can be heavy, needs a solid base | $10–$20 |
| Metal (Steel or Aluminum) | Modern/minimalist homes, curved driveways | Sleek profile, flexible, lasts 25-40 years | Higher cost, can rust if uncoated | $15–$30 |
| Natural Stone | Luxury, rustic, or high-end properties | Extremely durable (50+ years), timeless look | Expensive, heavy installation | $20–$40 |
| Gravel | Budget-friendly projects, rustic charm | Affordable, fuss-free, good drainage | Requires regular replenishment and weed control | $5–$15 |
| Plastic/Rubber | Temporary or budget solutions | Cheap, easy to install, flexible | Less durable (5-8 years), may shift over time | $5–$12 |
| Wood (Timber) | Cottages, rustic homes, temporary projects | DIY-friendly, inexpensive, natural look | Requires maintenance (weathering/rot), lasts 5-10 years | $8–$15 |
*Costs are approximate and can vary based on region and installation method.
Pro Tip: For a durable, low-maintenance option that adds a touch of elegance, Belgian blocks (granite cobblestones) are a fantastic, classic choice. For a seamless, modern look, consider coloured concrete or resin-bound edging.
How to Edge a Driveway: Step-by-Step
No matter which material you choose, the installation process follows a similar pattern. Here’s a general guide to get you started.
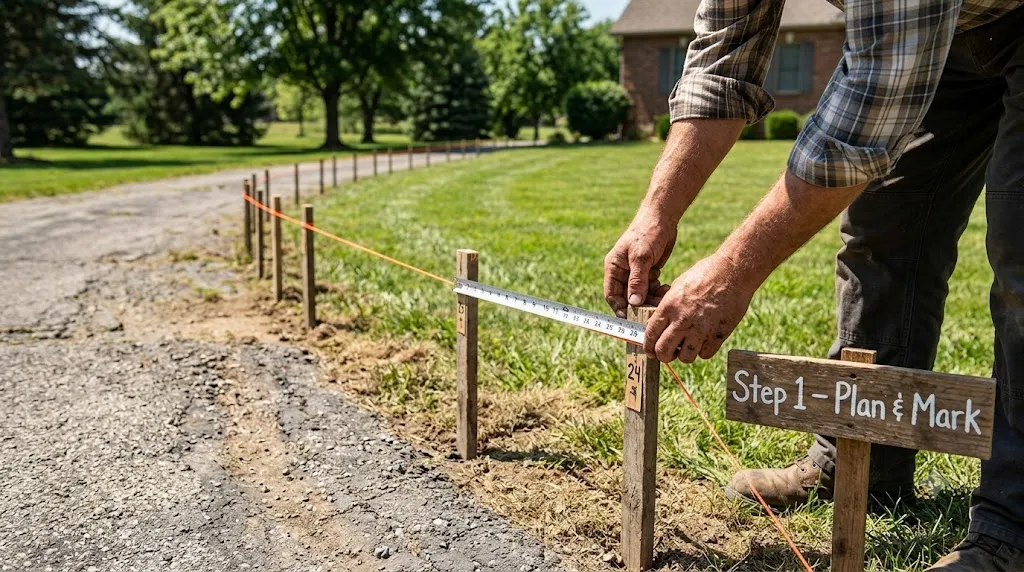
Step 1: Plan and Mark
Measure the length of your driveway to calculate materials. Place stakes at each end, and tie a mason’s line or string between them to mark a straight edge.
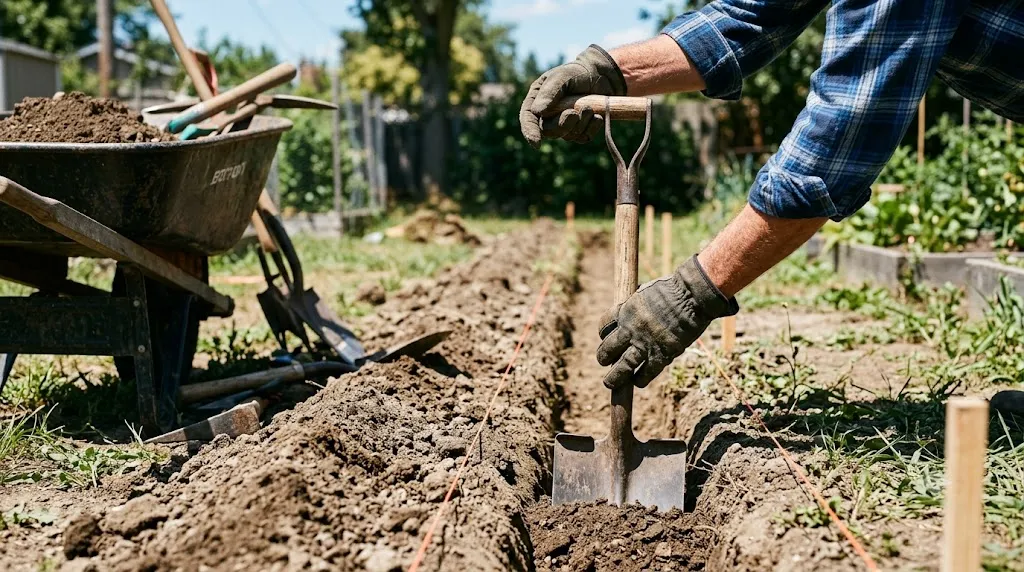
Step 2: Excavate the Trench
Dig a trench along the marked line. The trench should be deep enough to bury at least one-third of the edging material – typically 4–6 inches deep and 6–12 inches wide.
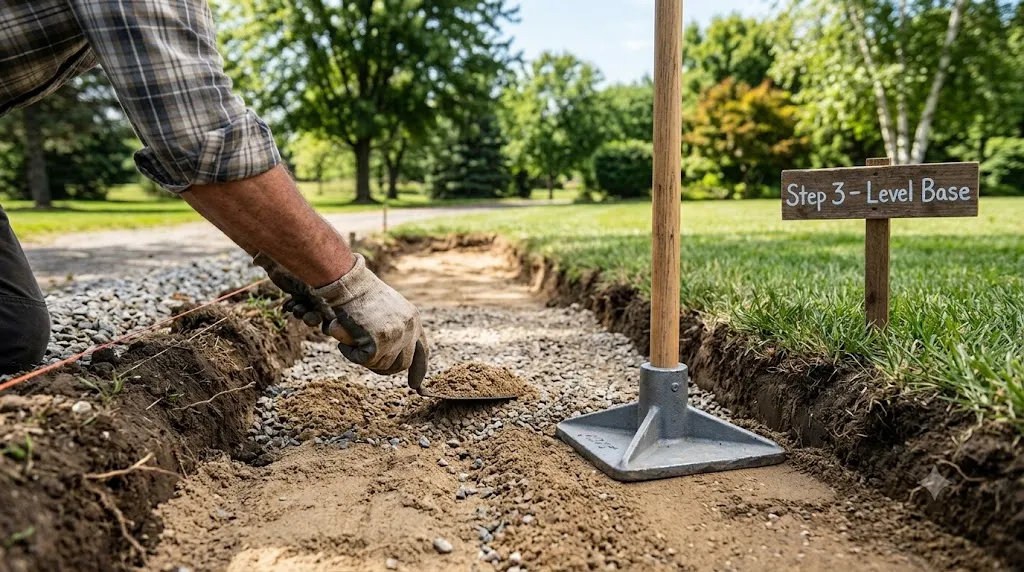
Step 3: Level the Base
Compact the base of the trench. Add a layer of sand or gravel for stability and drainage.
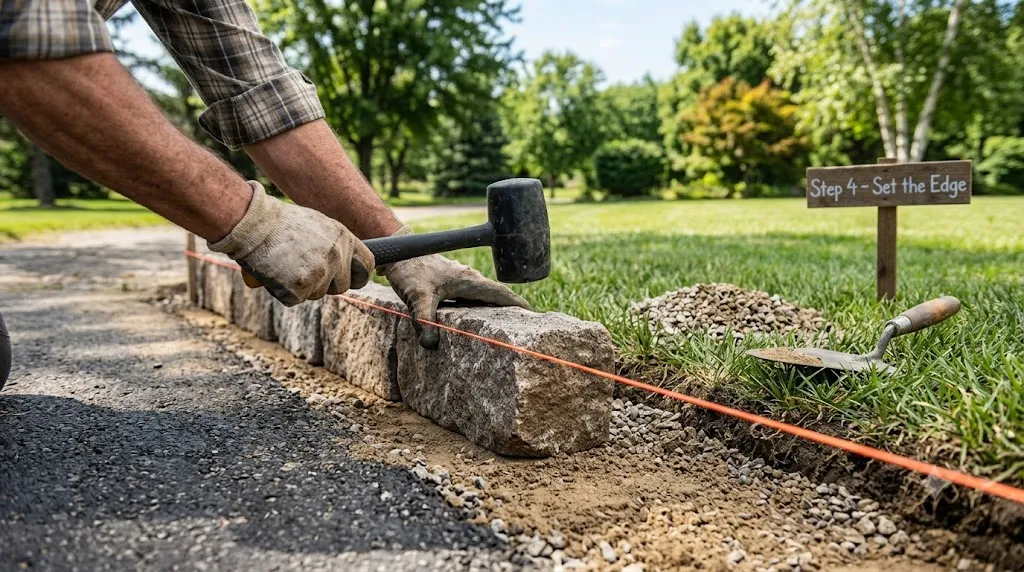
Step 4: Install the Edging
- For Bricks/Blocks: Lay them snugly against the driveway. Use a rubber mallet to tap them into place, ensuring they are level and flush with the mason’s line.
- For Metal/Plastic: Position the edging strip against the driveway and secure it with stakes or spikes every 3-4 feet.
- For Belgian Blocks: Pour a stiff concrete mix into the trench, set the blocks firmly, and fill the gaps with stone dust.
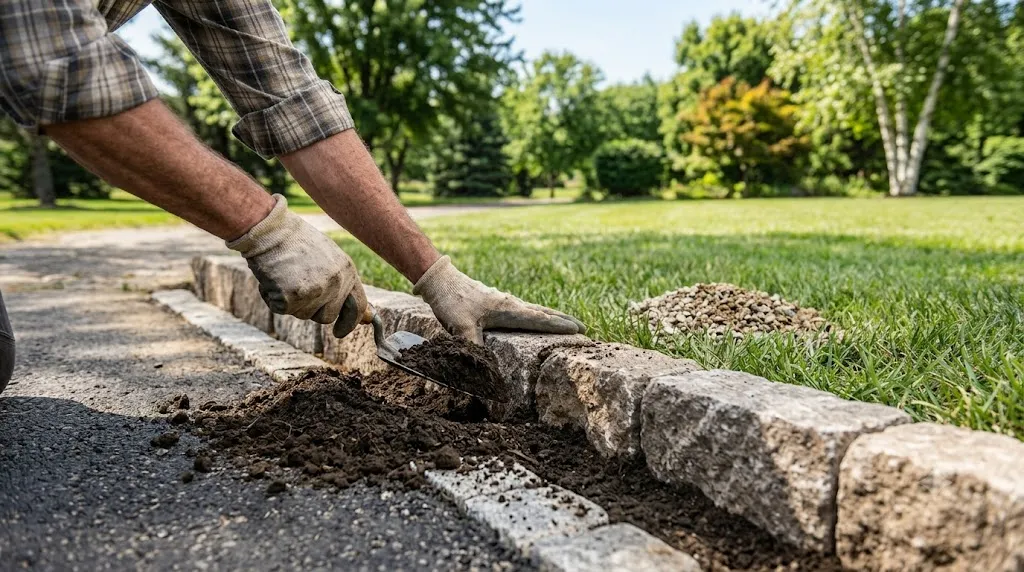
Step 5: Secure and Backfill
Backfill the trench behind the edging with soil, mulch, or gravel. Compact the soil firmly to hold the edging in place.
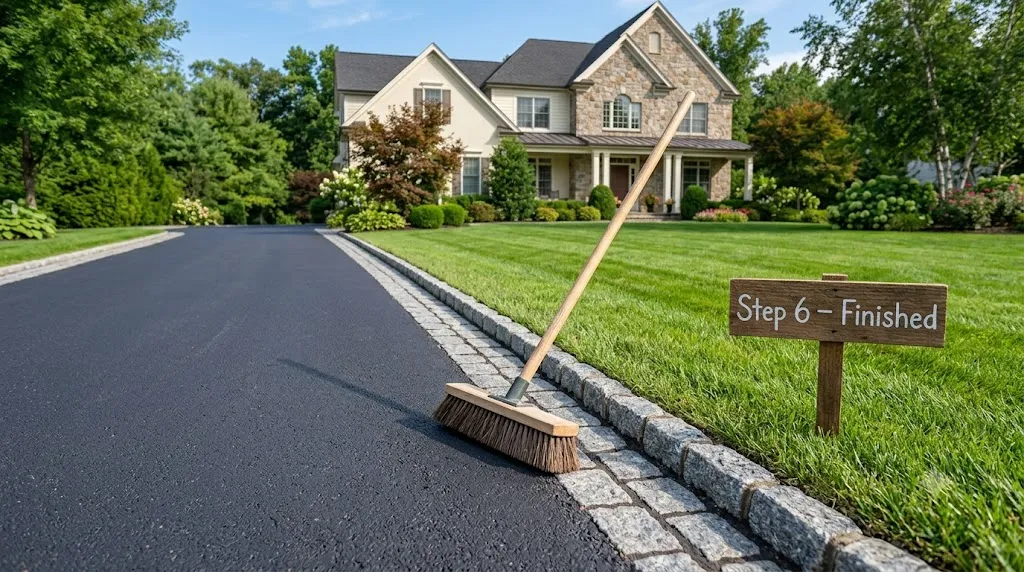
Step 6: Finishing Touches
Clean up excess soil and sweep the surface. For gravel driveways, consider adding a weed barrier (landscape fabric) behind the edging before backfilling to prevent weeds.
Manual and Alternative Methods
Don’t have an edger? You can still get professional results using simple tools.
The Shovel Method
A standard shovel can be surprisingly effective for smaller jobs. Position the shovel at a slight angle and dig a shallow trench, creating a clean separation between the pavement and the grass.
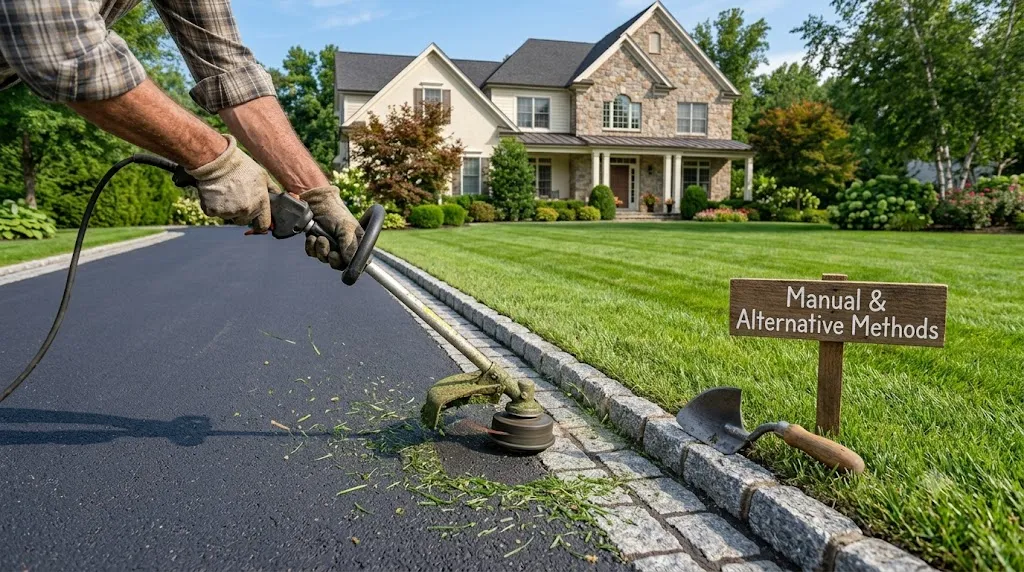
The String Trimmer Method
With the right technique, a string trimmer can be an effective edging tool. For the best results, use a trimmer with a rotating head. Hold it vertically so the string spins up and down, and cut a crisp line along the pavement edge.
Specialized Hand Tools
A hand edger—a half-moon blade on a long handle—can create precise edges without power equipment.
Maintenance Tips for Long-Lasting Edges
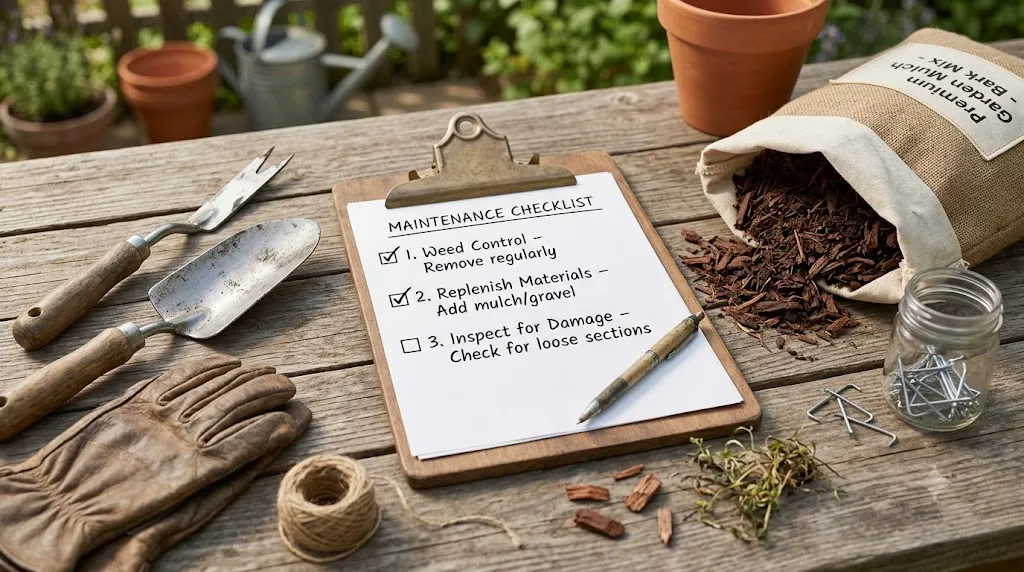
Once your driveway is edged, a little maintenance goes a long way:
- Weed Control: Pull weeds regularly or apply a pre-emergent herbicide to keep them from growing through the joints.
- Replenish Materials: Add fresh mulch or gravel as needed to keep the border looking neat.
- Inspect for Damage: Over time, weather and ground movement can shift materials. Address any loose sections early to prevent larger issues.
You Might Like Stunning Paved Pathway Ideas to Transform Your Entrance
Let’s Talk About Your Driveway
Now I want to hear from you. Which edging material caught your eye? Are you planning a DIY project or hiring a professional? Drop a comment below or tag @ouladeco on Pinterest with a photo of your driveway!
If this guide helped you, save it, share it with a neighbour, and come back to Oula Deco for more home exterior inspiration.

