
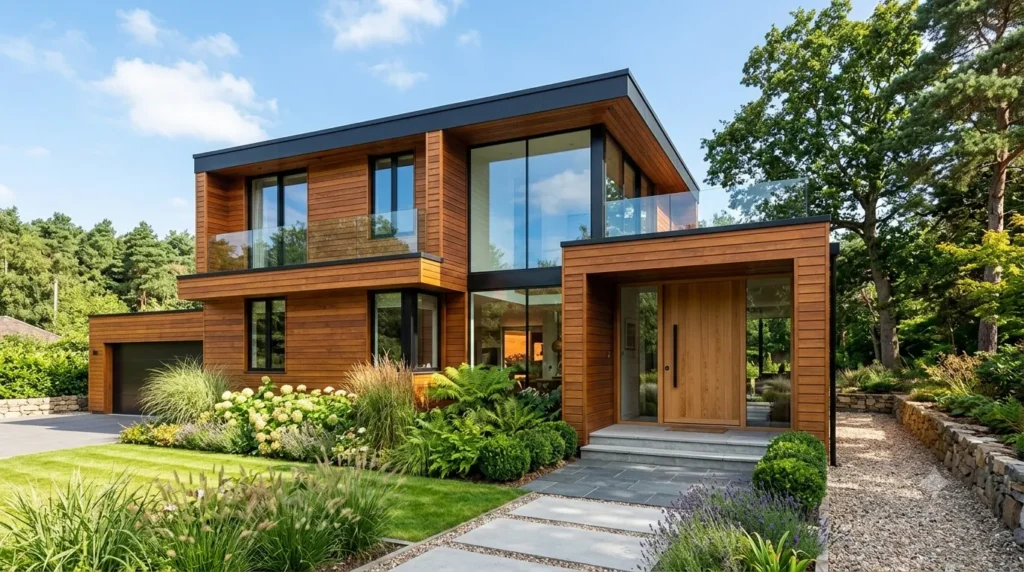
Mastering wood cladding maintenance is the ultimate key to a stunning home exterior. You love the natural warmth and texture of wood, but you’ve also heard the stories – warping, fading, rotting, and endless upkeep. Is wood cladding worth the effort?
Here’s the truth: timber is one of the most beautiful and timeless exterior finishes available. But it is also a living material that responds to its environment. With the right approach to design, installation, and wood cladding maintenance, it can last for decades.
Let’s explore everything you need to know about choosing, installing, and caring for your timber exterior, so your home stays beautiful for years to come.
Table of Contents
- Understanding Wood Cladding Maintenance
- Common Timber Species for Cladding
- Popular Cladding Styles
- Installation Best Practices
- Your Wood Cladding Maintenance Schedule
- Restoring Damaged Cladding
- Preventive Maintenance Tips
1. Understanding Wood Cladding Maintenance
Timber brings natural warmth, richness, and a tactile connection to nature that few other materials can match. Whether used for external walls, soffit ceilings, or feature walls, timber makes a striking design statement.
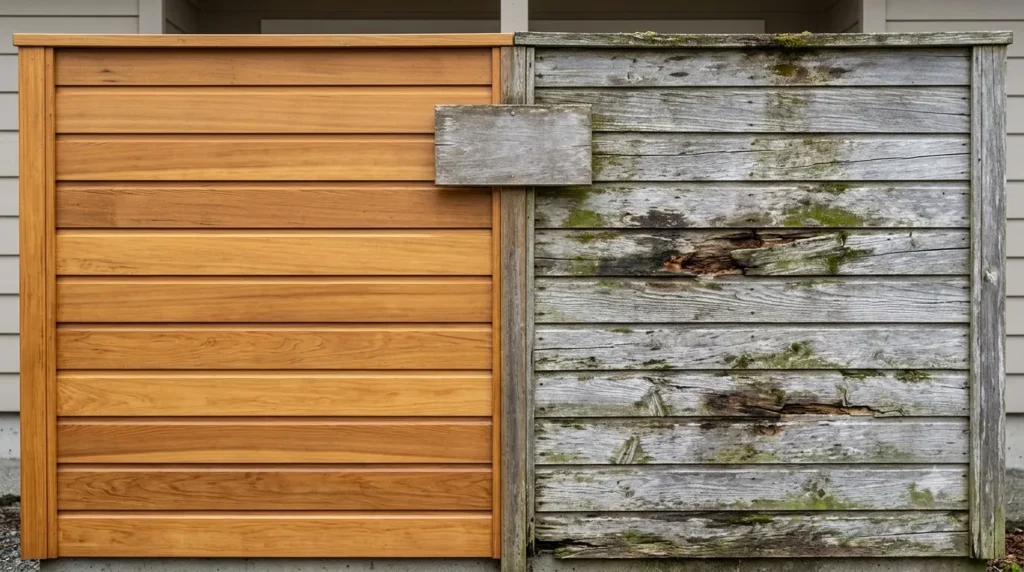
But unlike inert materials such as concrete or metal, timber is a living material. Without careful design and proper wood cladding maintenance, timber can deteriorate or change in undesirable ways.
If you are specifying timber externally, upkeep should not be treated as an afterthought. It must be an essential part of the design process.
Pin-worthy tip: “Timber cladding isn’t a ‘fit and forget’ material. It’s a relationship that requires care and attention.”
2. Common Timber Species for Cladding
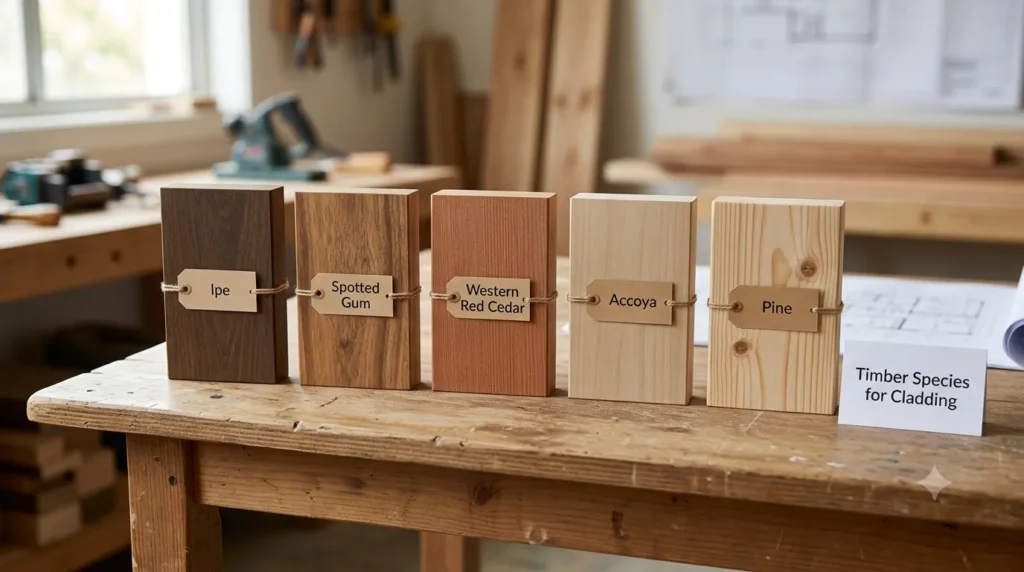
The durability of your exterior depends heavily on the timber species you choose. Your choice will directly impact your long-term wood cladding maintenance routine.
| Timber Species | Natural Durability | Best For | Maintenance Level |
| Ipe | Very high | Extreme weather, high-traffic areas | Low |
| Spotted Gum | High | Modern architecture | Low-Medium |
| Western Red Cedar | Medium | Coastal homes, natural finish | Medium |
| Accoya (modified) | High | Any climate | Low |
| Pine (treated) | Medium | Budget projects | Medium-High |
A general rule applies: high exposure requires high durability. This means a higher upfront cost but lower lifetime upkeep.
3. Popular Cladding Styles
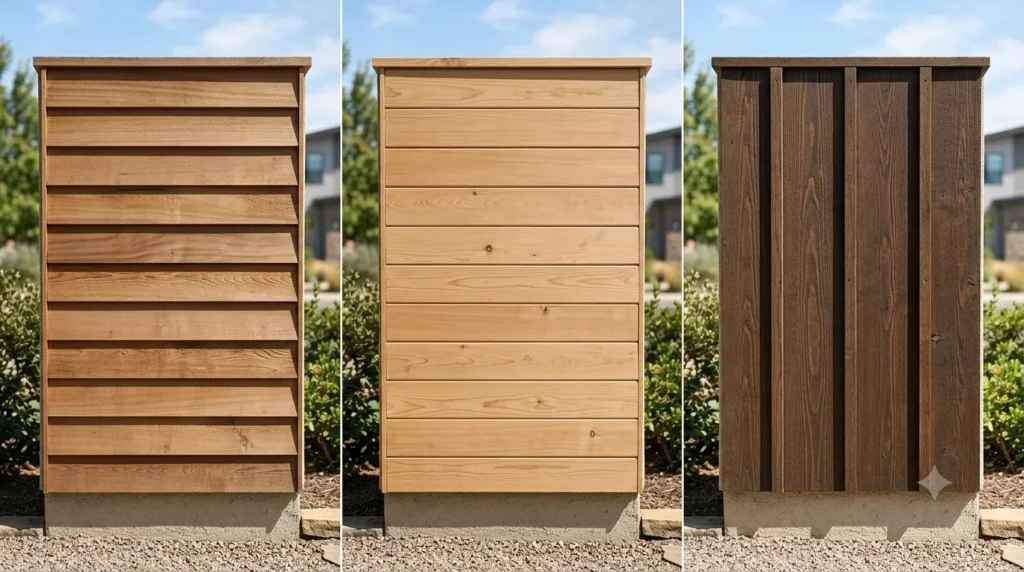
Shiplap
Shiplap features overlapping horizontal boards that create clean, defined lines across a home’s exterior. The boards connect with a rabbet joint, ensuring a tight seal.
- Best for: Farmhouse or contemporary looks.
- Maintenance: Moderate upkeep; re-stain or repaint every 5-7 years.
Tongue-and-Groove
This style uses interlocking boards to create a smooth, gap-free surface. The result is a flawless, continuous finish.
- Best for: Minimalist designs.
- Maintenance: Low upkeep.
Board-and-Batten
This style features wide vertical boards paired with slim strips (battens) that cover the seams. The vertical lines draw the eye upward.
- Best for: Structured, rustic-modern styles.
- Maintenance: Moderate upkeep; refresh finish every 3-4 years.
4. Installation Best Practices
Design with Timber Movement in Mind
All external timber naturally weathers due to UV exposure and moisture. Proper installation drastically reduces the burden of future wood cladding maintenance.
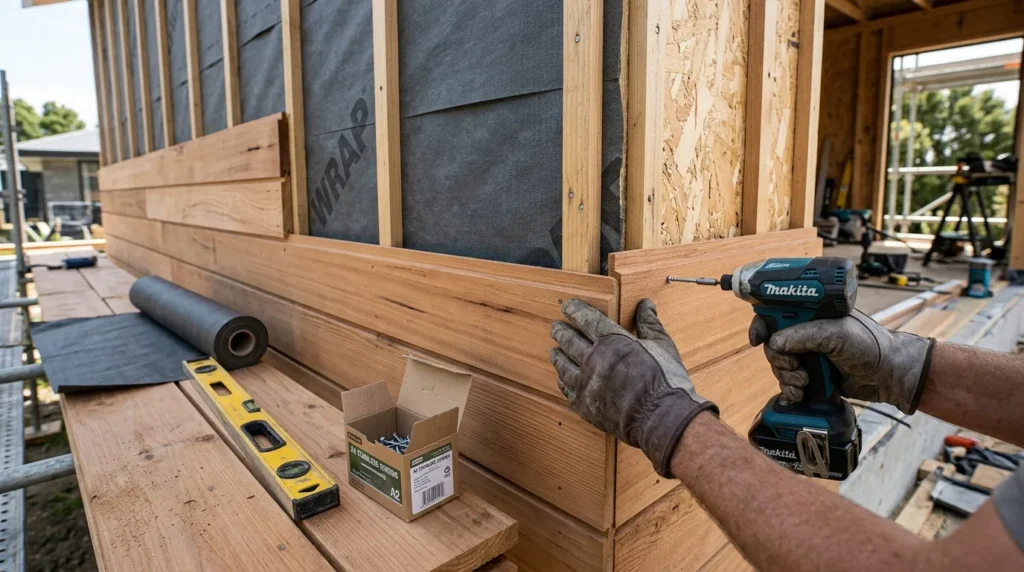
Ensure your cladding assemblies allow for proper ventilation and drainage. Use quarter-sawn boards to minimise cupping, and understand that timber will reach an equilibrium moisture content with its environment.
Allow for Airflow
Cladding performs best with air flow behind the boards. This is encouraged by installing a furring strip or fastener system. It is never recommended to install cladding directly against masonry.
The Right Fixings Matter
Choosing the wrong fixing is a common cause of ugly streaks. Always use stainless steel fixings (A2 grade for most environments, A4 for coastal locations). Stainless steel does not corrode or react with wood tannins.
5. Your Wood Cladding Maintenance Schedule
Annual Inspection
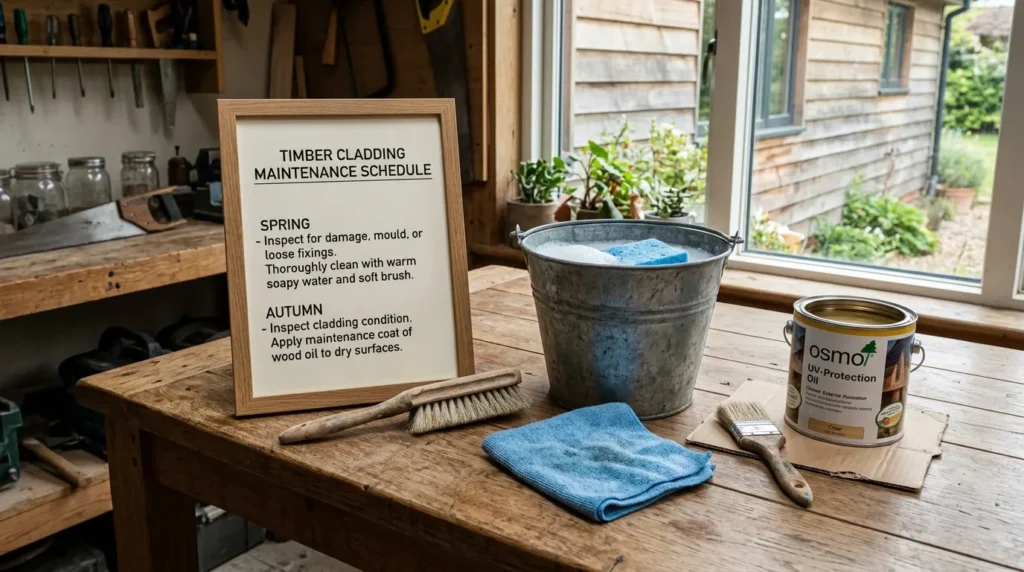
We recommend giving your timber exterior a visual check at least twice a year. Spring and autumn are ideal times. Look for loose boards, cracks, peeling finishes, or early signs of mould.
Regular Cleaning
Cleaning your exterior doesn’t have to be complicated. Use a soft broom to sweep away debris. For a thorough wash, use a bucket of warm water, mild detergent, and a soft-bristled brush.
Important: Never use a pressure washer! It will damage the surface fibres and force moisture into the joints.
Reapplying Finish
If your boards are coated with oil, stain, or paint, they need refreshing every few years. South-facing walls require more frequent treatment. If water no longer beads up on the wood’s surface, it is time to reapply your finish.
6. Restoring Damaged Cladding
Fixing Dark Streaks
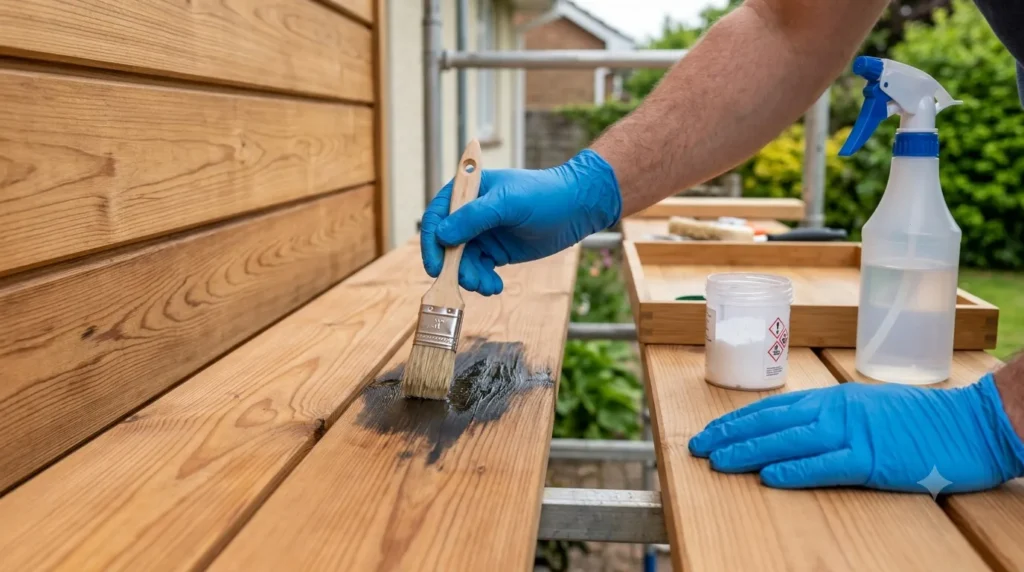
The most common culprit for dark streaks is improper fixings. When zinc-plated screws corrode, the rust reacts with wood tannins, leaving black stains.
For heavy staining, oxalic acid is highly effective for drawing out discolouration. Once rinsed and dried, apply a high-quality UV oil to protect the raw wood.
Protecting End Grain
The end grain of timber is highly vulnerable to moisture. Make sure all end grains are heavily sealed with a wax or end-grain protector to prevent splitting and rot.
You might like “https://ouladeco.com/shutters-on-modern-homes-do-they-still-work-6-honest-answers-for-contemporary-design/”
7. Preventive Maintenance Tips
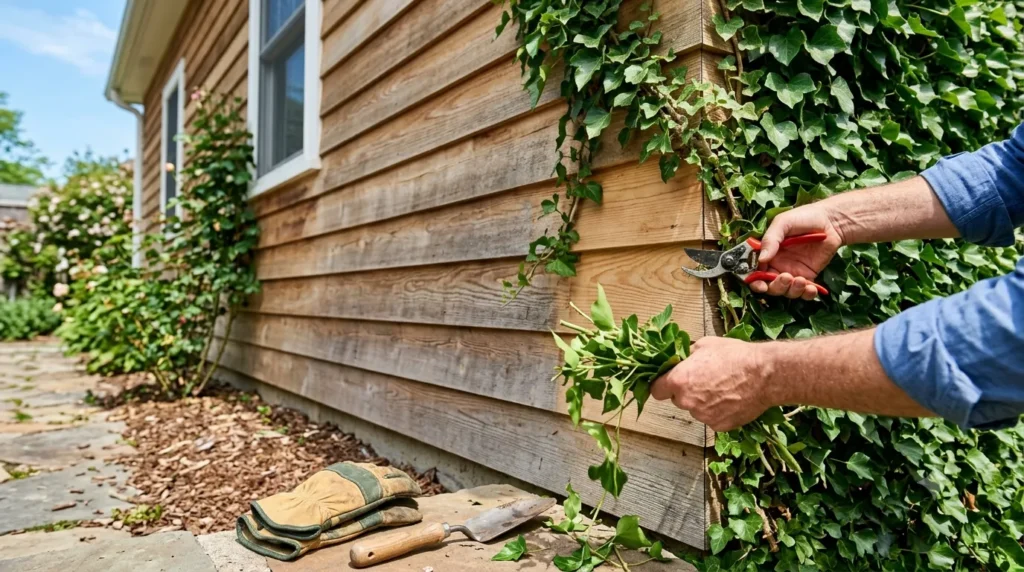
Keep overgrown plants and ivy trimmed away from your exterior walls. Vegetation traps moisture against the boards, completely undermining your wood cladding maintenance efforts.
Also, ensure gutters and downspouts are functioning properly to direct water away from the base of the cladding, which takes the most abuse from splashing rain.
You might like Best Exterior Paint Colors Trending
Let’s Talk About Your Exterior!
Do you have timber on your home? What is your biggest challenge when it comes to wood cladding maintenance? Drop a comment below or tag @ouladeco on Pinterest with a photo of your home!
If this guide helped you, be sure to save it, share it with a renovating friend, and check out our other exterior design inspiration guides for more tips!

