
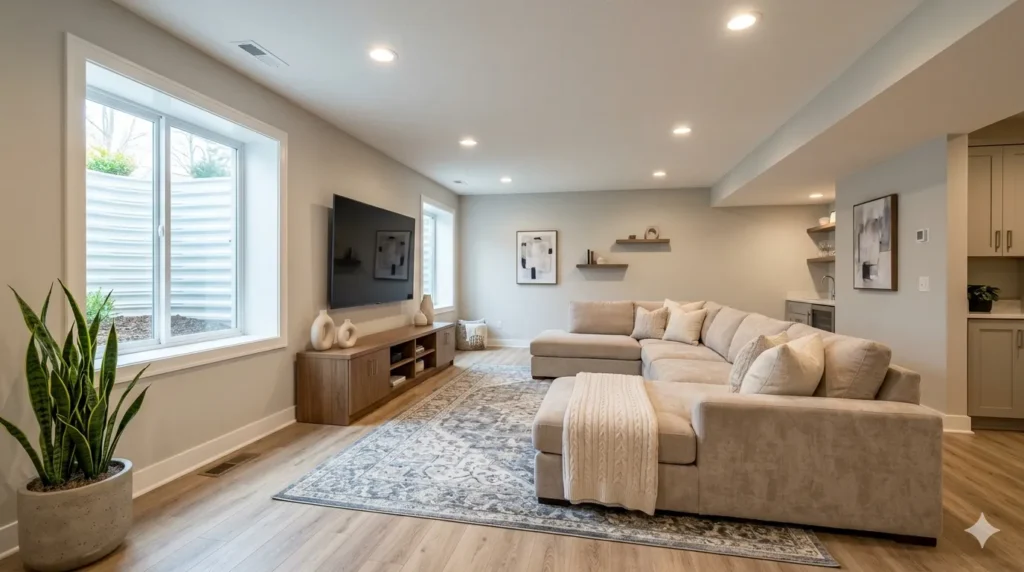
How to convert a basement into a living space. 5 steps to transform dark, unused space into a cosy retreat. Read more on Oula Deco
You have a basement. It’s dark, damp, and full of storage boxes and cobwebs. You walk down there only when you have to. But what if that same space could become a cosy family room, a home theatre, a guest suite, or a playroom?
You have a basement. It is dark, damp, and full of storage boxes. But what if that same area could become a cosy family room? Learning how to convert a basement into a living space is one of the smartest investments you can make, adding value and square footage to your home.
I’ve helped friends transform dark, dingy basements into warm, inviting living areas. The key is tackling the essentials first: moisture, lighting, flooring, and egress. Then comes the fun part – design and decor.
By the end of this guide, you’ll know exactly what to do, in what order, and how to avoid costly mistakes.
Let’s dive into how to convert a basement into a living space – one smart step at a time.
External Resource: Learn more about foundation moisture control at the Building America Solution Center
Step 1 – Assess and Solve Moisture Problems First
Before you spend a dime on flooring or drywall, you must ensure your basement is dry. Moisture is the enemy of any finished basement.
What to check:
- Look for water stains on walls or floors.
- Feel for dampness or musty odours.
- Check after a heavy rain – do you see any seepage?
Solutions for common moisture issues:
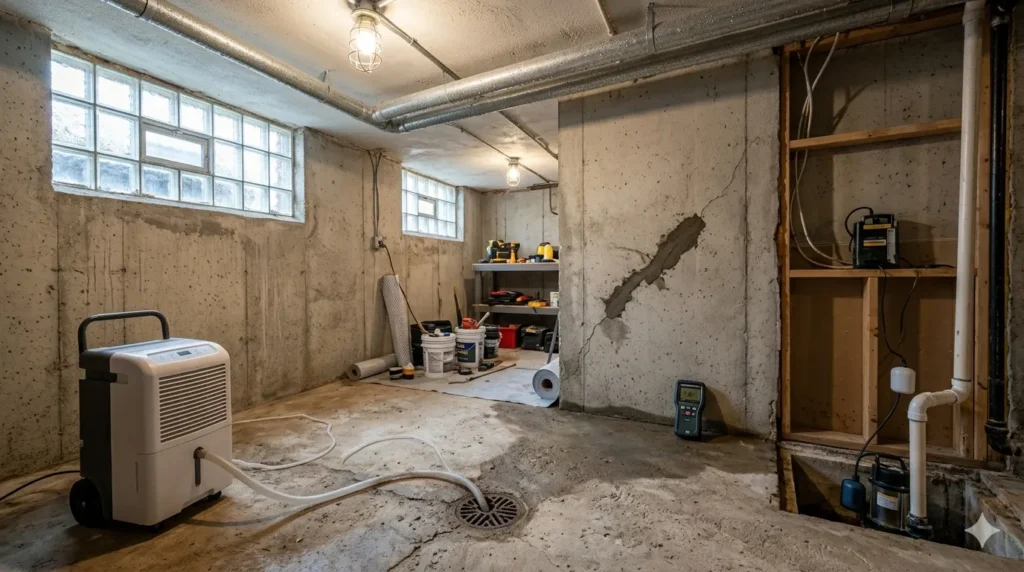
- Minor dampness: Run a dehumidifier (set to 50% humidity).
- Cracks in foundation: Seal with hydraulic cement or epoxy injection.
- Poor drainage: Extend downspouts away from the house and regrade the soil around the foundation.
- Serious water issues: Install a sump pump and interior drain tile (this may require a pro).
Pro tip: Don’t skip this step. Even a small moisture problem will ruin drywall, warp flooring, and create mould. Fix it before you finish anything.
Pin-worthy tip: “A dry basement is the foundation of a beautiful basement. Fix moisture first – design comes second.”
This is the most critical first step in how to convert a basement into a living space. Get this right, and everything else is easy.
Step 2 – Plan for Egress and Ceiling Height
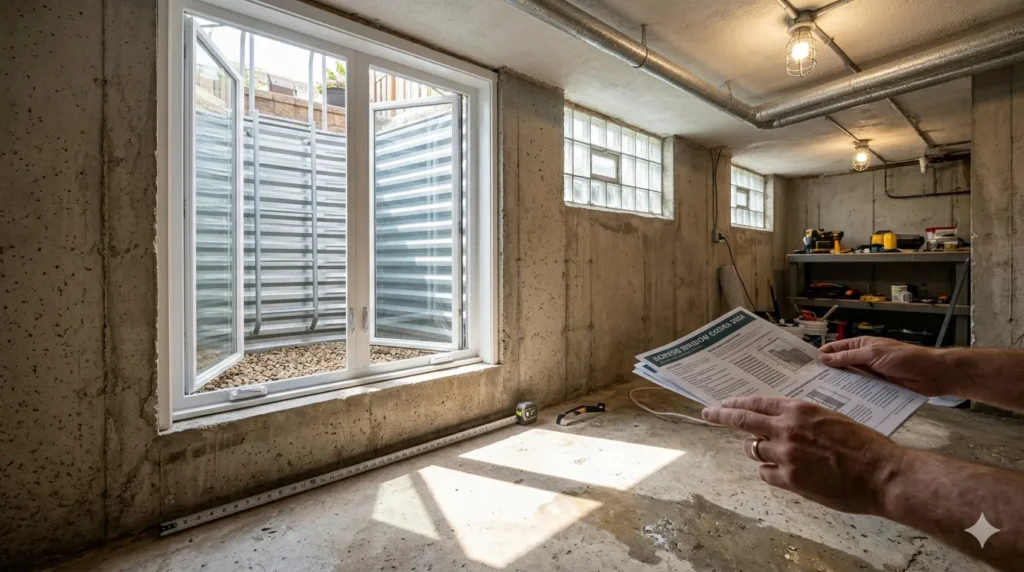
To be a legal living space (bedroom) and for safety, you need proper egress and adequate ceiling height.
Egress requirements (for bedrooms):
- A window at least 5.7 square feet (minimum 20″ x 24″ opening)
- Window sill no more than 44″ from the floor
- A window well with a ladder if the window is below grade
Ceiling height requirements:
- At least 7 feet for finished living space (some codes allow 6′8″)
- If your ceiling is lower, consider using the basement as a playroom, office, or media room (not a bedroom)
Pro tip: If you lack egress, installing a window well and new window costs $2,000‑$5,000 but adds a bedroom’s value to your home. Worth it.
Pin-worthy tip: “Egress isn’t just code – it’s safety. And a legal bedroom adds real value to your home.”
This planning step is essential to converting a basement into a living space – especially if you want a guest suite or rental.
Step 3 – Address Lighting and Ceiling Treatments
Basements are naturally dark. You need layered lighting to make them feel warm and inviting – not like a cave.
Lighting layers for a basement:
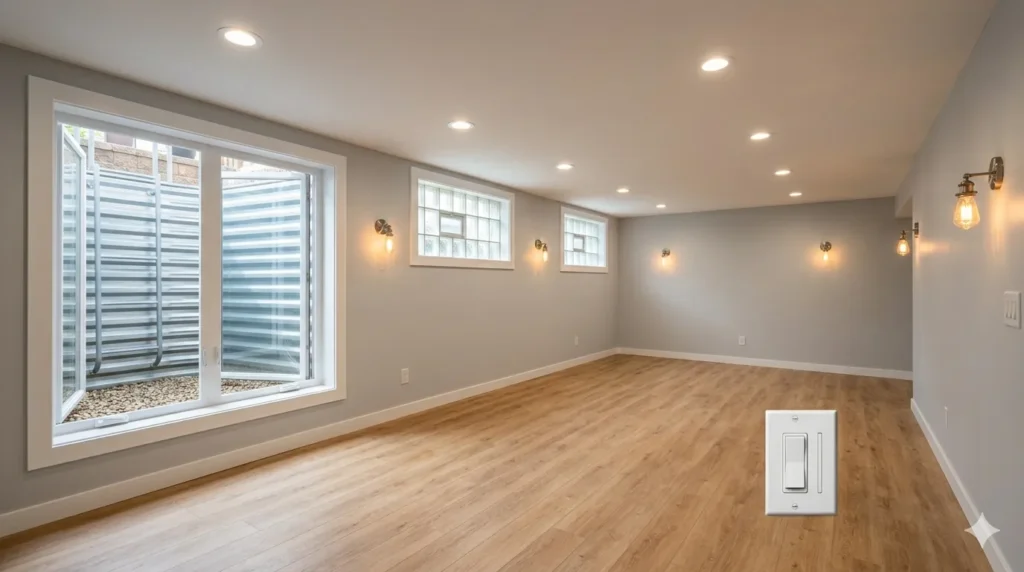
- Recessed lights (can lights): The best choice – they don’t eat up ceiling height. Space them 4‑6 feet apart.
- Wall sconces: Add warmth and visual interest at eye level.
- Floor and table lamps: cosy task lighting for seating areas.
Ceiling options (from best to budget):
- Drop ceiling with LED panels: Easy access to pipes and wires.
- Drywall ceiling: Cleanest look but hides access – plan for future repairs.
- Paint exposed joists: The cheapest option – paint everything black or white for an industrial look.
Pro tip: Use warm white bulbs (2700K‑3000K). Cool white feels like an office. Add dimmers on all overhead lights for movie nights.
Pin-worthy tip: “Lighting is the difference between a basement and a basement you actually want to be in.”
This step in how to convert a basement into a living space is where the space transforms from dungeon to delightful.
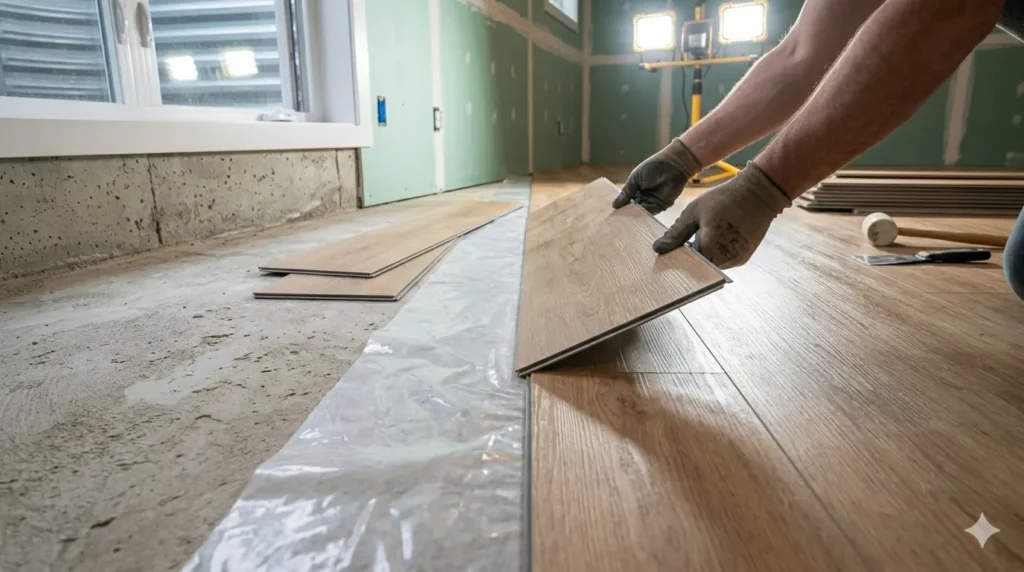
Step 4 – Choose Moisture‑Resistant Flooring and Walls
Basements are prone to moisture, even after waterproofing. Choose materials that can handle occasional dampness.
Best flooring options:
- Luxury vinyl plank (LVP): Waterproof, warm underfoot, looks like wood. The #1 choice for basements.
- Engineered vinyl tile: Also waterproof, great for basements with concrete slabs.
- Laminate: Not recommended – swells if wet.
- Carpet: Only if you’re 100% certain your basement is dry. Use a vapour barrier underneath.
Wall options:
- Drywall: Standard – use moisture‑resistant green board.
- Framing with insulation: Use rigid foam against concrete walls, then frame and add fibreglass or mineral wool.
Pro tip: Always use a vapour barrier between concrete and any flooring or framing. A simple 6‑mil poly sheeting costs little and saves heartache.
Pin-worthy tip: “In a basement, water is the enemy. Choose floors and walls that can fight back.”
Smart material choices are key to how to convert a basement into a living space that lasts.
Step 5 – Design for Comfort and Function
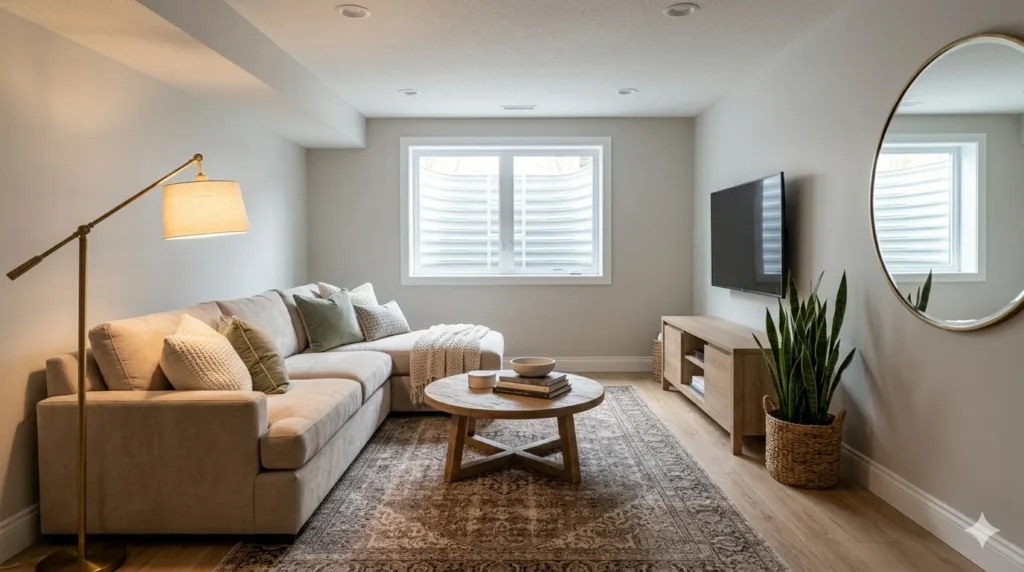
Now the fun part – making your new basement feel like home. Because basements lack natural light, focus on warmth, texture, and cosy elements.
Design tips for a welcoming basement:
- Paint walls a warm, light colour: soft white, warm beige, or pale grey – not dark colours that absorb light.
- Add area rugs: Define zones (media area, play area, office) and add softness underfoot.
- Include plenty of seating: A large sectional or modular sofa works well.
- Create zones: Use furniture placement to separate the TV area from the play area from the office.
- Add plants: Low‑light options like snake plant, ZZ plant, or pothos bring life.
- Don’t forget sound: Add a white noise machine or soft music – basements can echo.
Pro tip: If your basement has no windows, add a large mirror on one wall to reflect light and create the illusion of depth. Add battery‑operated candles for a cosy glow.
Pin-worthy tip: “A basement without natural light needs extra warmth. Layer rugs, pillows, lamps, and plants – and it will feel like a hug.”
Now you’ve mastered how to convert a basement into a living space – from dark storage to a cosy retreat.
Your 5‑Step Basement Conversion Cheat Sheet
| Step | Action |
|---|---|
| 1 | Assess and fix moisture problems (dehumidifier, seal cracks, sump pump) |
| 2 | Plan for egress (window) and ceiling height (minimum 7 feet) |
| 3 | Install layered lighting (recessed lights, sconces, dimmers) |
| 4 | Choose moisture‑resistant flooring (LVP) and walls (green board) |
| 5 | Design for comfort (warm colors, rugs, zones, plants, mirrors) |
Pin-worthy tip: “The best basements don’t feel like basements. They feel like the best room in the house.”
Let’s Talk About Your Basement Conversion
Now I want to hear from you: How to Update a Dated Staircase Without Replacing It
Which of these steps for how to convert a basement into a living space will you prioritise? Drop a comment below or tag @ouladeco on Pinterest with your progress!
And if this guide helped you understand how to convert a basement into a living space, save it, share it with a friend who has unused square footage, and come back to Oula Deco for more home transformation inspiration. Your dream basement is closer than you think.
How to convert a basement into a living space – 5 steps: fix moisture, add egress, layered lighting, moisture-proof floors, and cosy design. Save this guide! 🏠👇 #BasementConversion #HomeImprovement #OulaDeco

